Rooting is a process by which you can gain administrative privileges over your device. Administrative privileges means those features that the vendor does not want you to have. By rooting a device you get into the core of the device, basically you gain the right of a root user and you can overclock the processor, delete the pre-installed apps by the vendor to release some memory space, change the UI of the device to make its interface more prettier and many more things.
Since by rooting a device you get undue privileges over your device so the vendor does not provide any warranty for your device after it is rooted. Sony is not going to take trouble for your experiments. So before rooting your device keep this in mind, and another thing I will not be responsible as well.

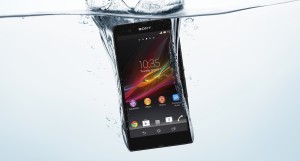
Sony Xperia Z is a well stuffed water proof device, as all say this device is the king of water proof devices. It belongs to the top tier device’s that Sony has ever produced. Still rooting this device is not the job of any regular user, some users just like to experiment with their devices and take a lot of risks, this article is for them. Sony stuffs a lot of its own app with the device, these apps cannot be removed without rooting. So to remove these apps you need to root the device.
Steps to root Sony Xperia Z
1. First you have to install all the Sony Xperia Drivers on your computer.
2. Then you have to install the Fastboot Drivers.
3. Enable USB Debugging by going to “Settings” > “Developer Options” > “Enable USB Debugging”.

4. Now go to “Settings” > “Security” > Check “Unknown Sources”.

5. Make sure that you device doesn’t goes to sleep mode so increase the sleep time of your device.
6. Now you have to download the Rooting Script to your desktop.
7. Unzip it and put it on your desktop.
8. Now plug in your device using USB.
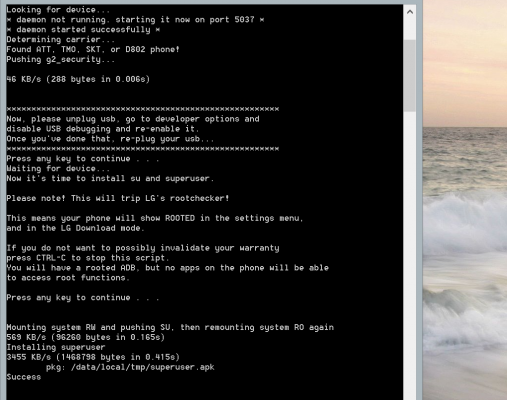
9. Open the folder that you just unzipped on your desktop and double click on the batch(.bat) file.
10. Hit enter on the Command Prompt when prompted.
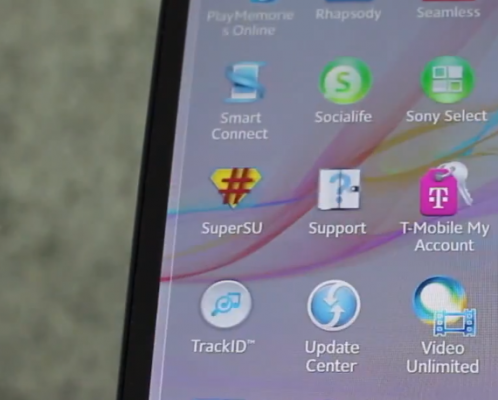
11. The process is nearly complete, just check if there is a SuperSU icon on your device’s app drawer when it reboots. If its there, it means your device is successfully rooted.