Social media is no more limited to be a medium of leisure and amusement. Owing to its vastness and immense utility, social media is gradually becoming a necessity in our lives. It is needless to mention that social media is also a huge source of income for millions and billions of users in some way or the other. Videos and images are thus the most intriguing aspects of social media as visually appealing material are always the core attraction to viewers. Thus, creating an amazing video is necessary. If you search for professional level video and film editor software, the options are plenty. While the flagship applications of Adobe are high priced, the free ones have limited scope of editing. A balance between these two is FilmoraPro 2.0 video editing software by Wondershare. Wondershare has some beautifully crafted feature rich software applications, and FilmoraPro is one of them.
Salient Features Of FilmoraPro 2.0 for Windows / Mac
1. The application has a wonderfully designed user interface which has almost every feature on the well-defined workspace.
2. The application has a huge scope of audio editing. It has the ability to automatically sync audio to an existing video, if there is a higher quality audio file. It can compress audio, reduce noise and audio clutter, applies crossfades and overlaps audio to smooth out the transition between two clips.
3. FilmoraPro has prominent editing features, that almost every professional video editor looks for, like motion tracking, animations, panorama and zoom, etc.
4. Other basic editing features include warp and distort, masking, trimming, etc.
Now let’s have a look at the process of installation and use
Steps To Use And Install FilmoraPro v2.0
1. First, download the FilmoraPro application for with Windows or macOS, depending on your operating system.

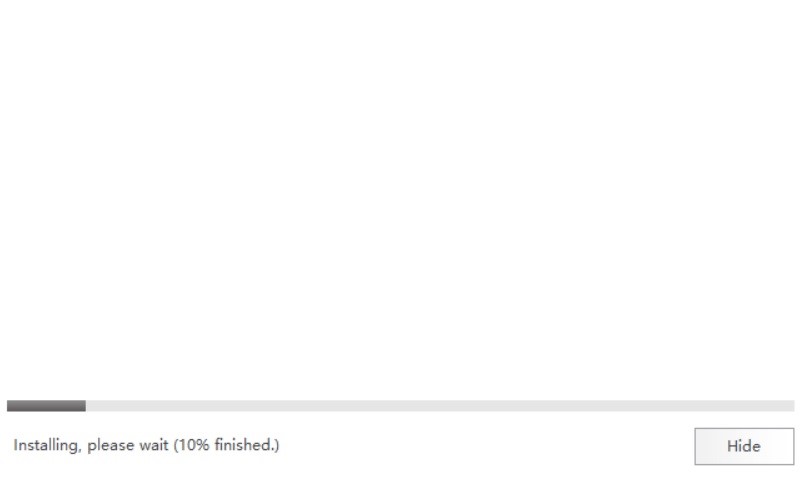
2. Now, head towards the installation process. Follow the simple instructions that you come across. Once, it is installed completely, click on Start Now option to launch the software.
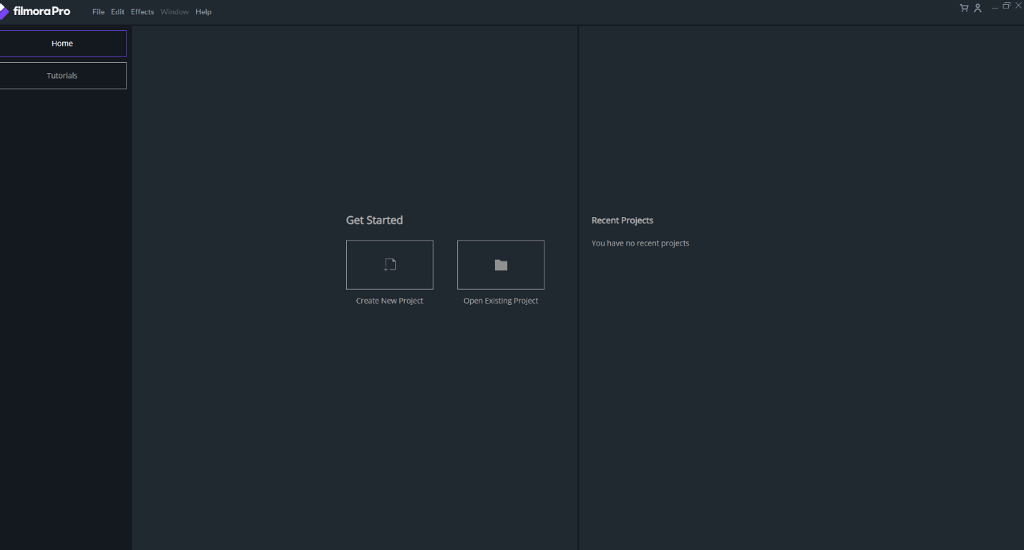
3. This is how the user interface of FilmoraPro looks like. The left pane has two primary options, the Home and Tutorials. The Home tab has the workspace for creating and editing videos. There are two options, Create New Project and Open Existing Project. In the right pane, you can get an account of recent works.

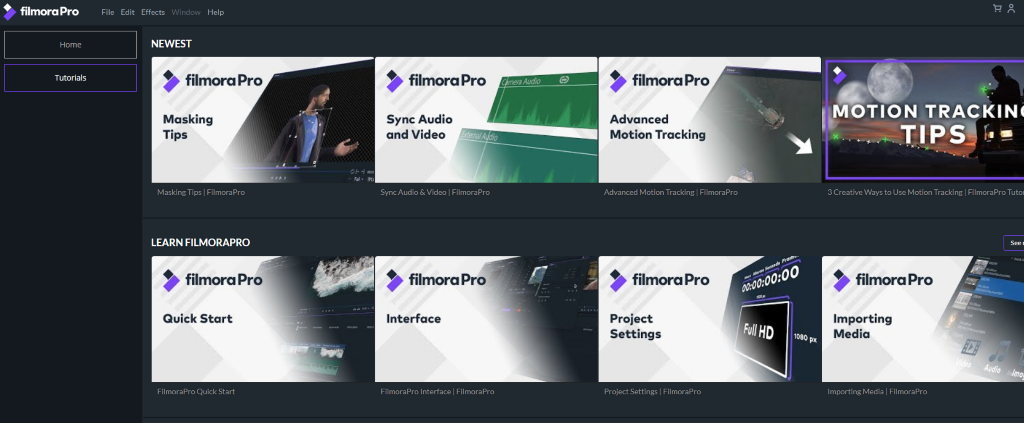
4. If you tap on the Tutorials tab, you will come across a plethora of online tutorials, which are an enriched source of knowledge for all aspiring video editors. When you select one tutorial, you will be redirected to the corresponding tutorial video on YouTube.

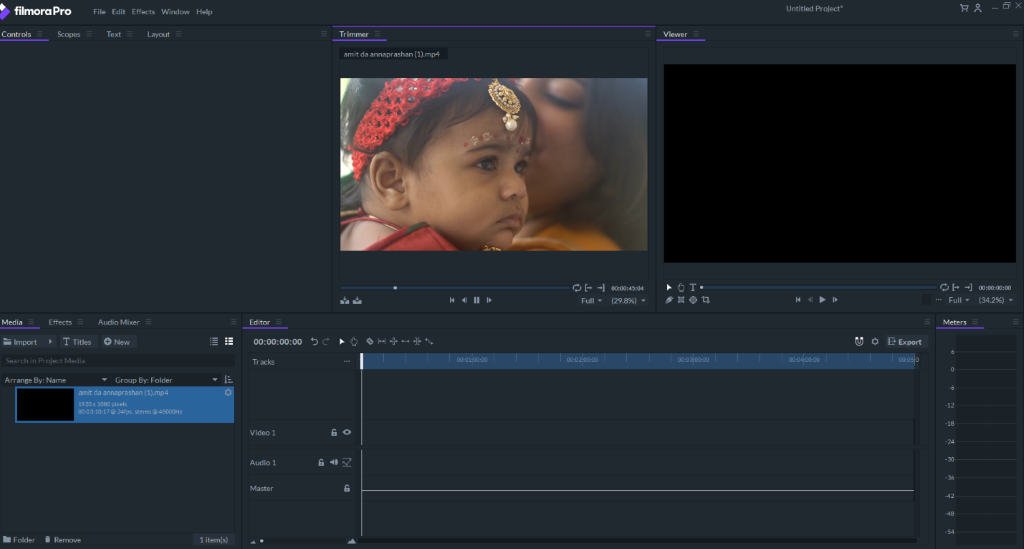
5. Now, coming back to the software use, click on Create New Project. The workspace is loaded on the FilmoraPro application. Click on Import menu as shown with the arrow to launch the video. The video can be viewed in the top panel.

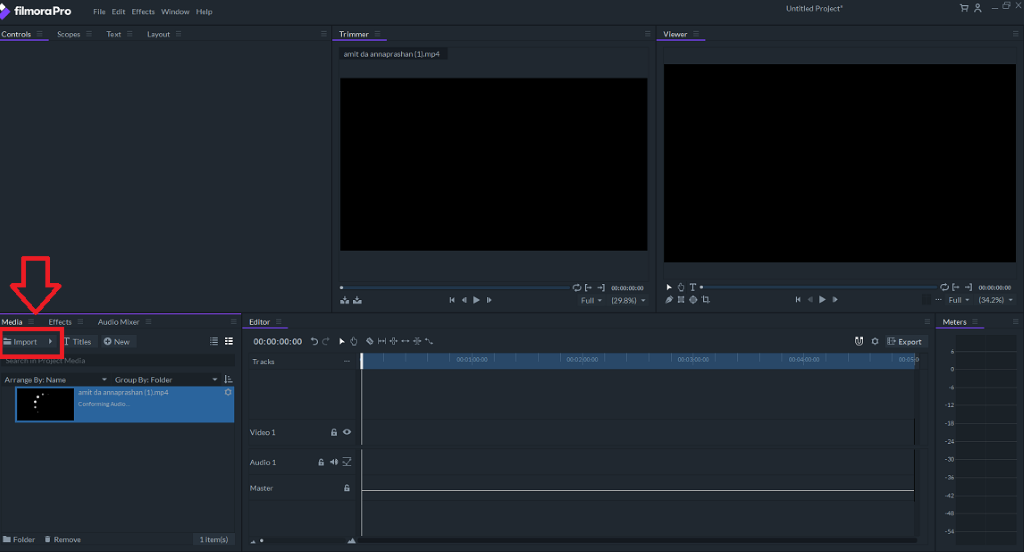
6. There is a trimmer panel and there is a viewer panel. Both the panel are placed together, so that you can compare the actual video and the edited video simultaneously. In the left panel, there is this audio mixer, effects and Media. There are copious effects and other editing stuffs, that can be great companion for any professional video editor.

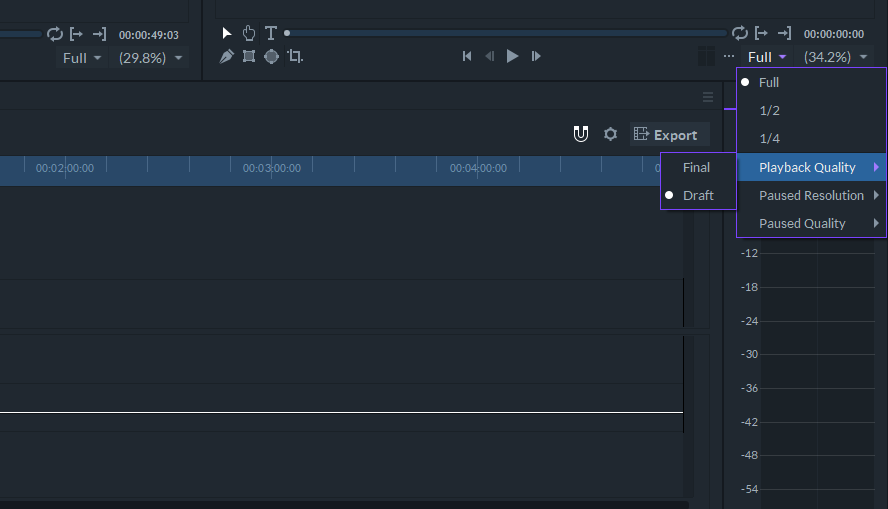
7. In the right panel, you can customize the playback speed, quality and many more. There are a huge collection of editing features, which cannot be demonstrated in a single article. For best guidance, check out their YouTube channel.

Final
FilmoraPro 2.0 is an impeccable video editing application, with loads of features and templates. There is a free version which you can try and test it at no additional cost. If you are satisfied with the application, then only you can pay for the full version. After testing the features in-depth, we highly recommend our viewers to give it a try!
That’s all!