


Screen capture is a useful feature that we need to use almost every now and then. There are several different ways to capture screenshots in OS X El Capitan. Here are some:
1. If you want to capture the entire screen at one shot, press the key combinations Command+Shift+3.
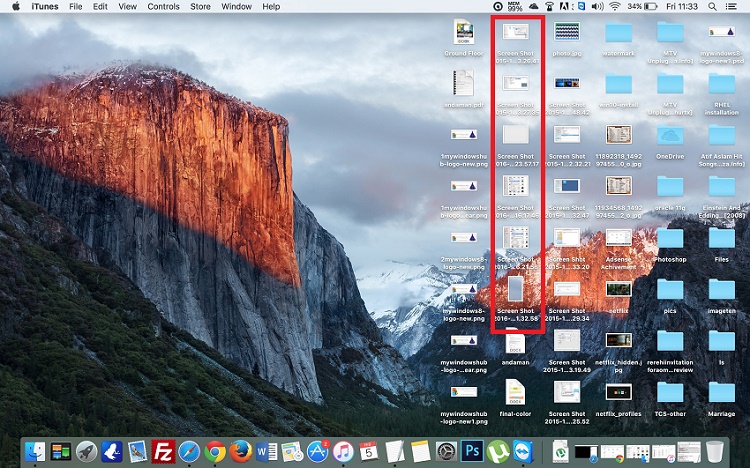
2. The screenshots will be saved on Desktop as png files.
3. If you want to capture a part of the screen, a small snippet, then press the key combinations Command+Shift+4.
4. The cursor will change to a cross hair cursor. Now drag the cursor and select the area you want to capture. When you release the cursor, the screen gets captured. The screenshots are saved on Desktop as png files.
5. If you want to capture a window out of several open windows, then press the key combination Command+Shift+4+Space. The cursor will change to a camera icon. If you move the cursor from one window to another the color of the window on which the camera cursor is resting will turn blue. Now you need to tap once. The window on which the cursor is present will get captured.

