


In the last part of the Flutter article series, we have walked you through a series of steps to integrate Flutter with Android studio and fixed a few issues that appeared during the installation phase. In this part, we will discuss the backbone of the highly customizable UI development kit, the Dart language and will focus on creating your very first Flutter app.
The Dart Language:
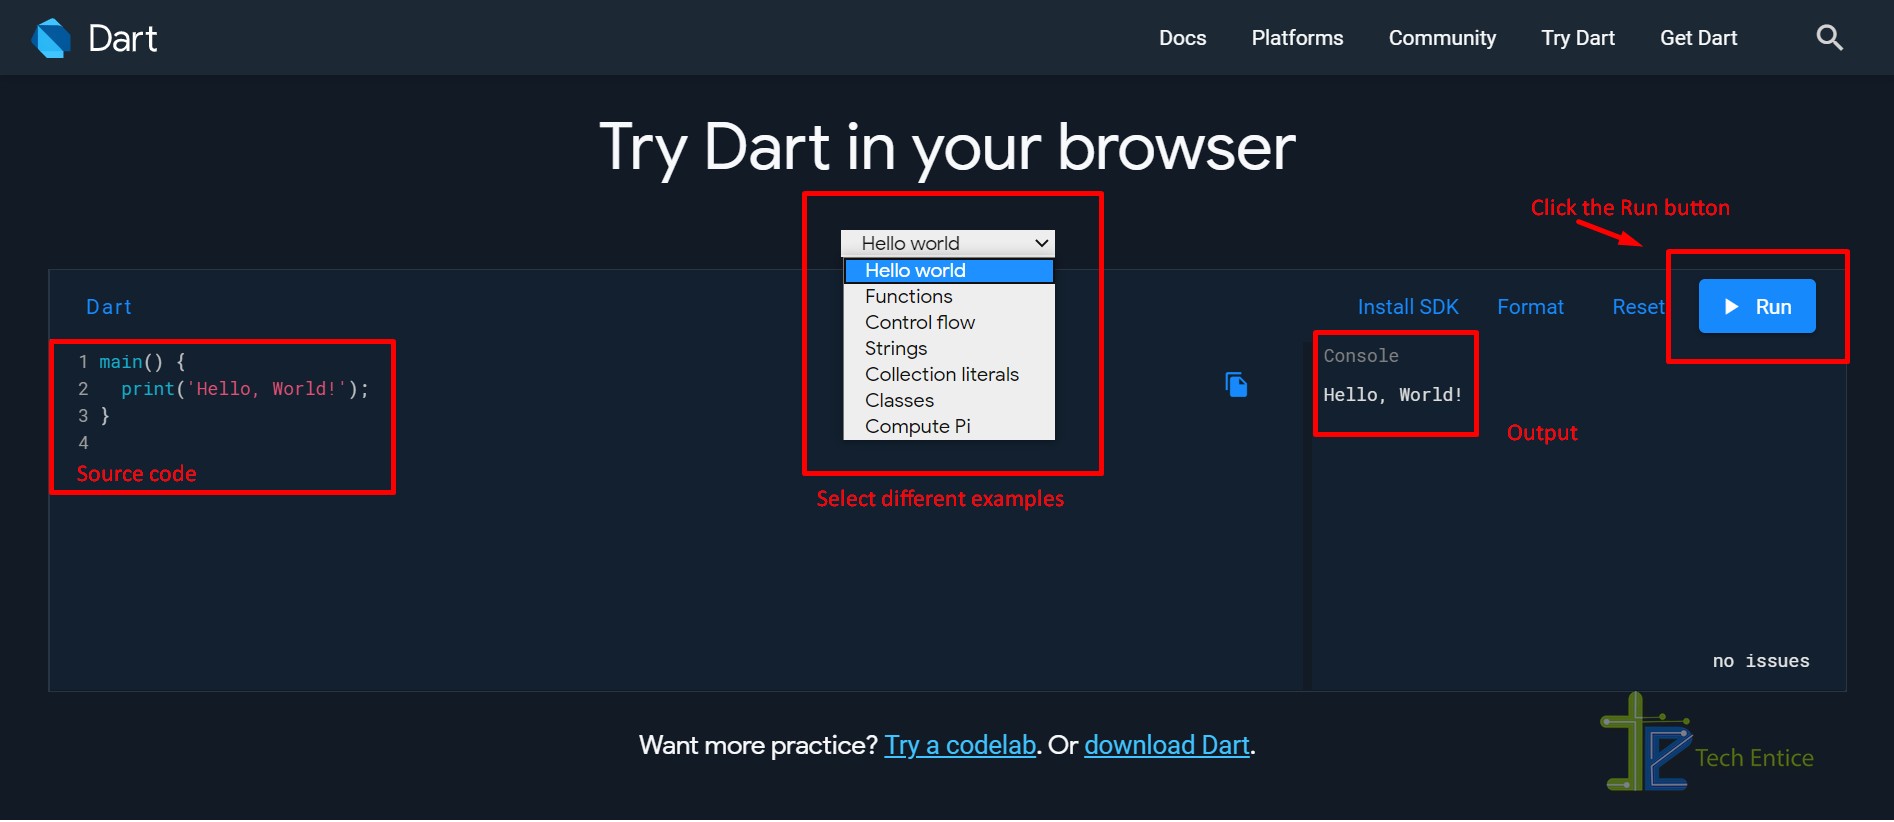
The backbone of Flutter’s flexibility is the Dart language. The Dart language developed by Google is similar to any other object-oriented programming language like Java or Python. We can not deny the fact that even non-programmers have built impressive flutter apps. Dart is a client, and native optimized language specifically made for responsiveness and multi-device support apps. Let’s summarize some of the outstanding features of dart before getting started with our flutter demo application,
- Explicitly designed for optimized User Interface.
- Supported by all platforms. The dart codebase is compiled into ARM and x64 machine code, which is eventually supported by mobile, desktop, and web.
- Productive like never before with hot reload functionality. Make changes and render the app live in your connected device.
Visit this link to try out some of the examples from the drop-down for better understanding.

Flutter App:
Prerequisites:
- Make sure you have a physical Android device connected to the system.
- Make sure you have turned on the USB debugging functionality from your android device. If you are not aware of this, then do check out this article for more information on USB debugging.
- Make sure you have completed all the previous steps, as mentioned in part 1.
Step #1:
- Launch the Android Studio IDE.
- On the welcome screen, click on the second option, “Start a new Flutter project.”


Step #2:
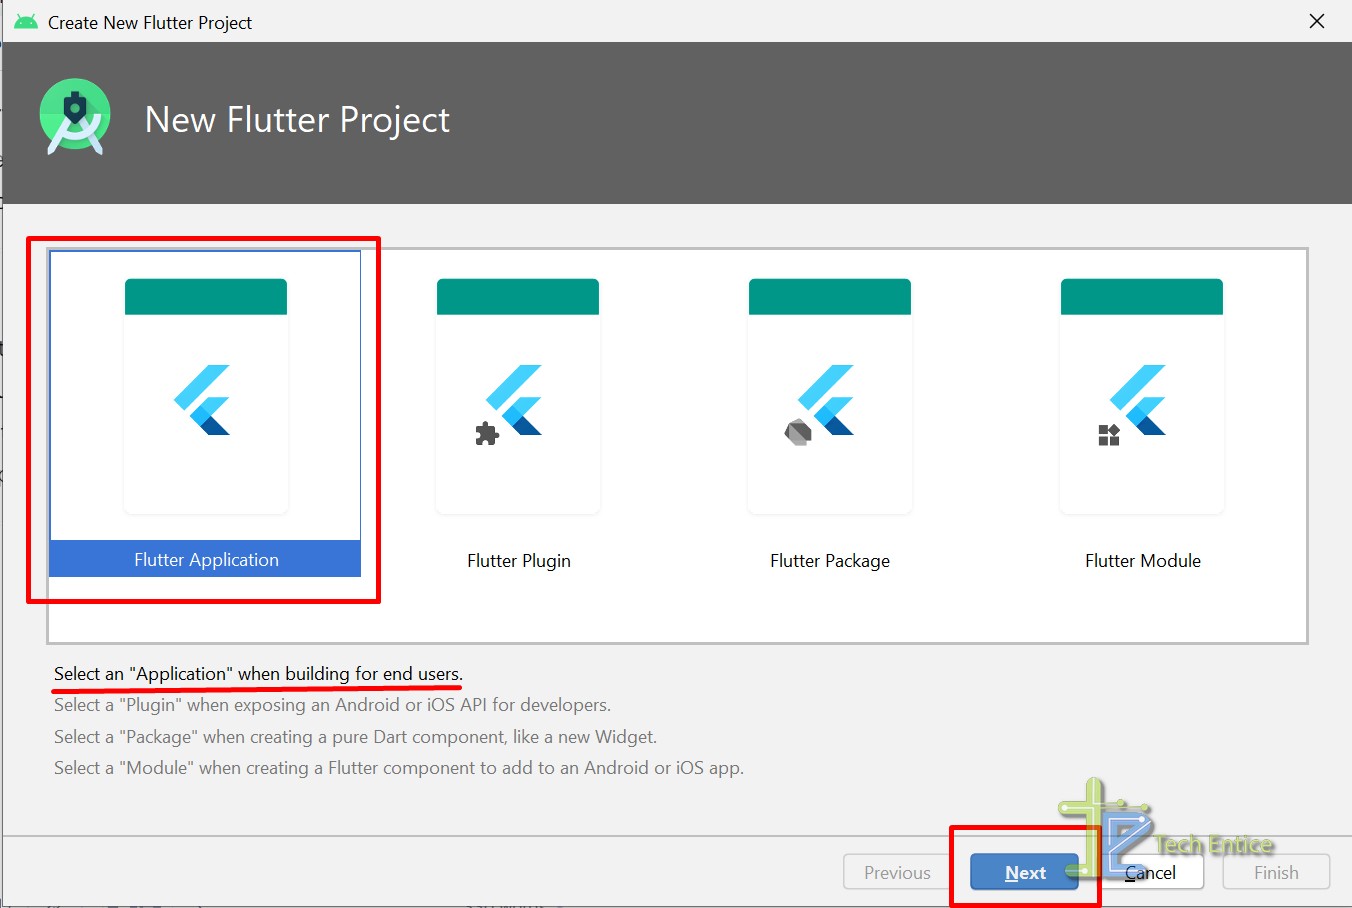
- Android studio will present you with the below dialog box and allows you to select the type of flutter project.
- As a first-time flutter developer, we shall stick to the first option, “Flutter Application,” to create the app for the end-users.

Step #3:
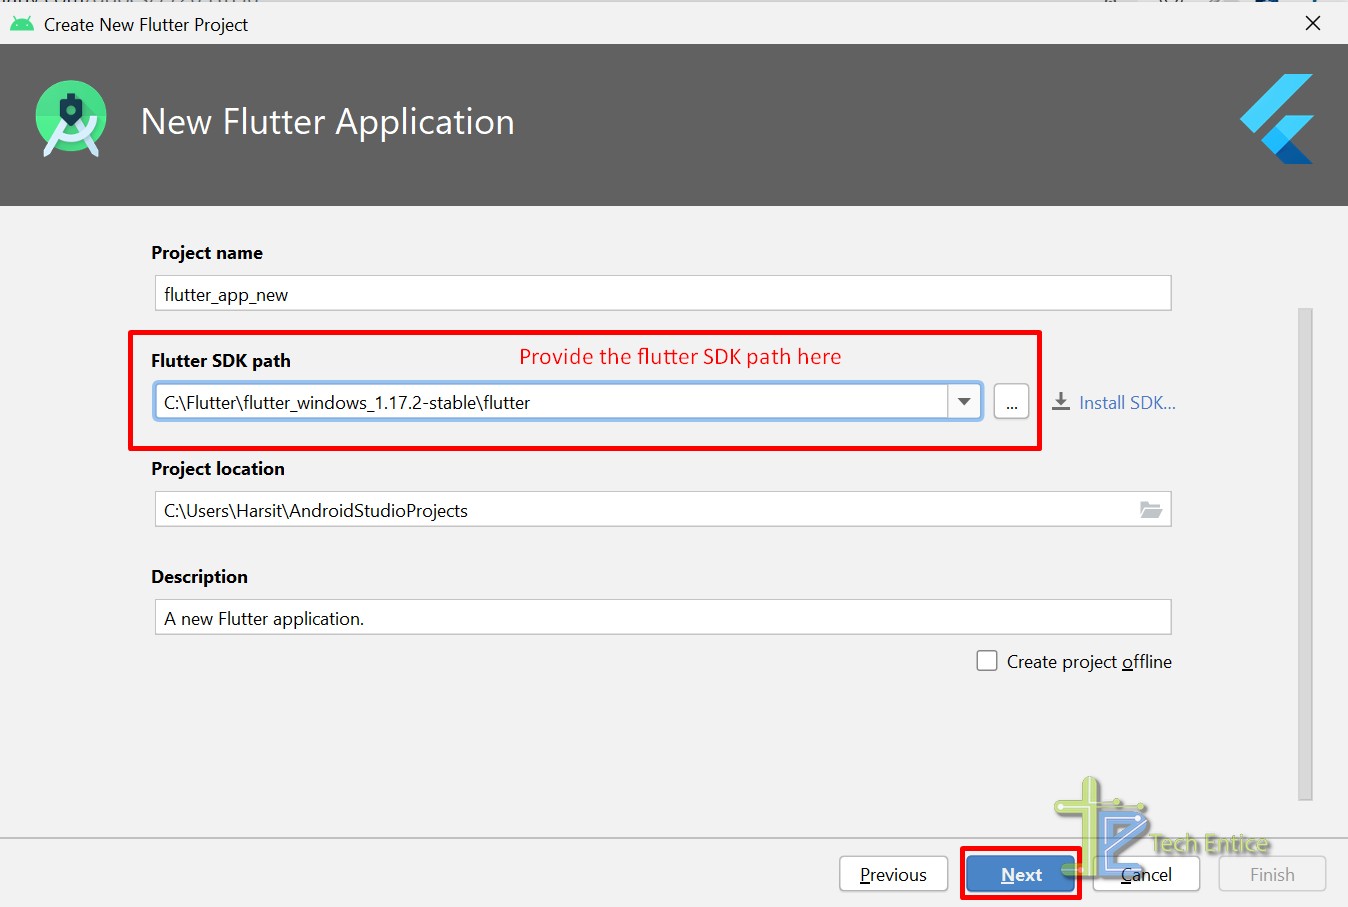
- Upon clicking the Next button, Android studio asks you to provide project-specific information such as project_name, Flutter SDK path, and many more, as mentioned in the below dialog.
- Usually, we need to provide the Flutter SDK path in the second textbox. In our case, we will add “C:\Flutter\flutter_windows_1.17.2-stable\flutter” as our flutter SDK path.
- After setting up the path, you can change the description and project path as per your requirement.

Step #4:
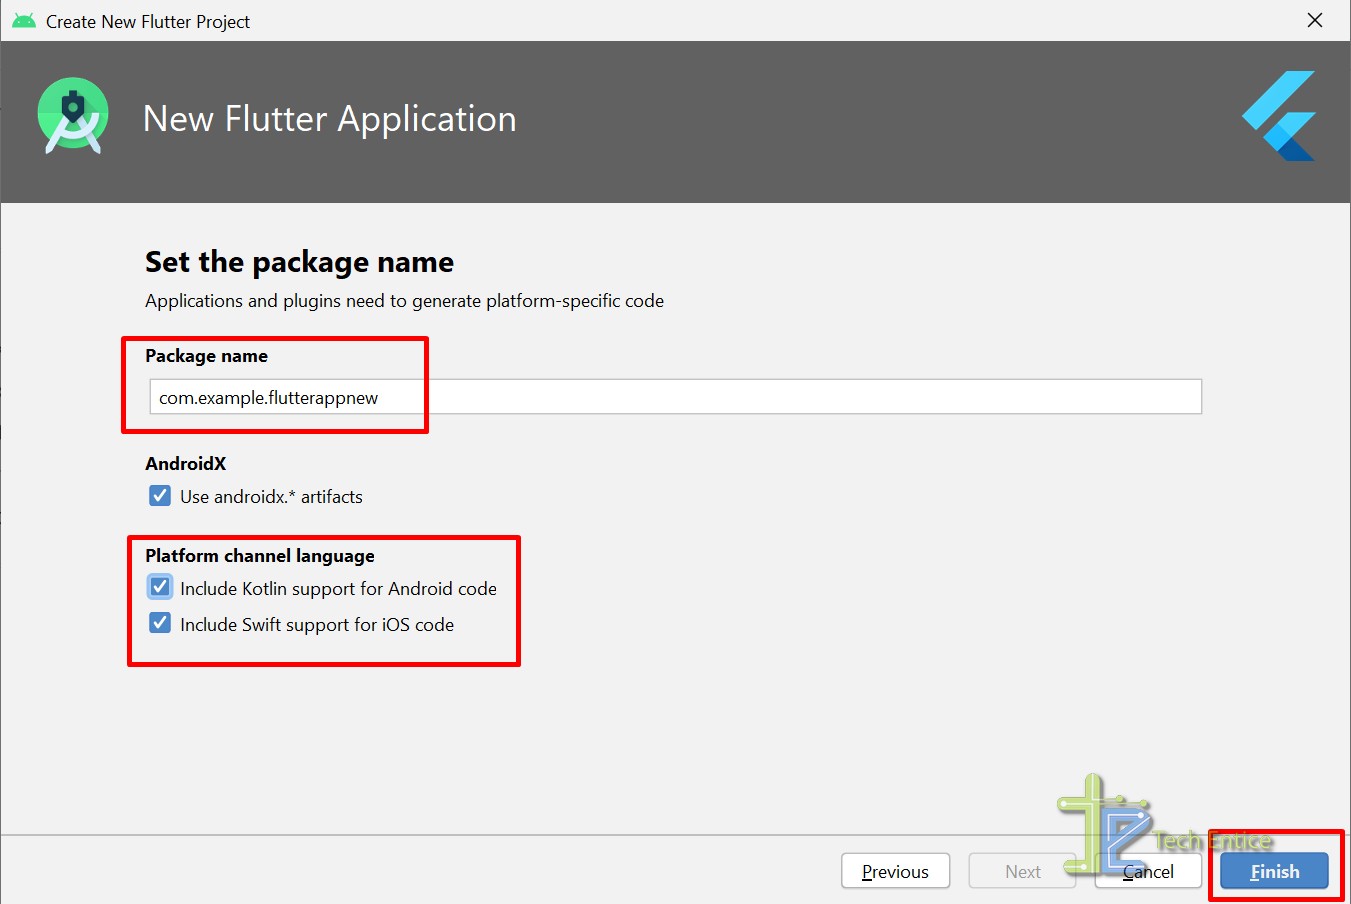
- Upon clicking the Next button, the Android studio presents you with a dialog box to change the package name and allow you to select the target platforms such as swift support for iOS code.
- Based on the business requirement, you can make the selections and click the Finish button to continue.

Step #5:
- The project set up process takes a while to finish. Once it is over, you shall be able to see the below IDE screen.
- As a part of the setup process, Android Studio creates a sample Flutter project with nested widgets.
- You shall be able to see a file “main.dart” opened in the code editor, present in the lib subdirectory.

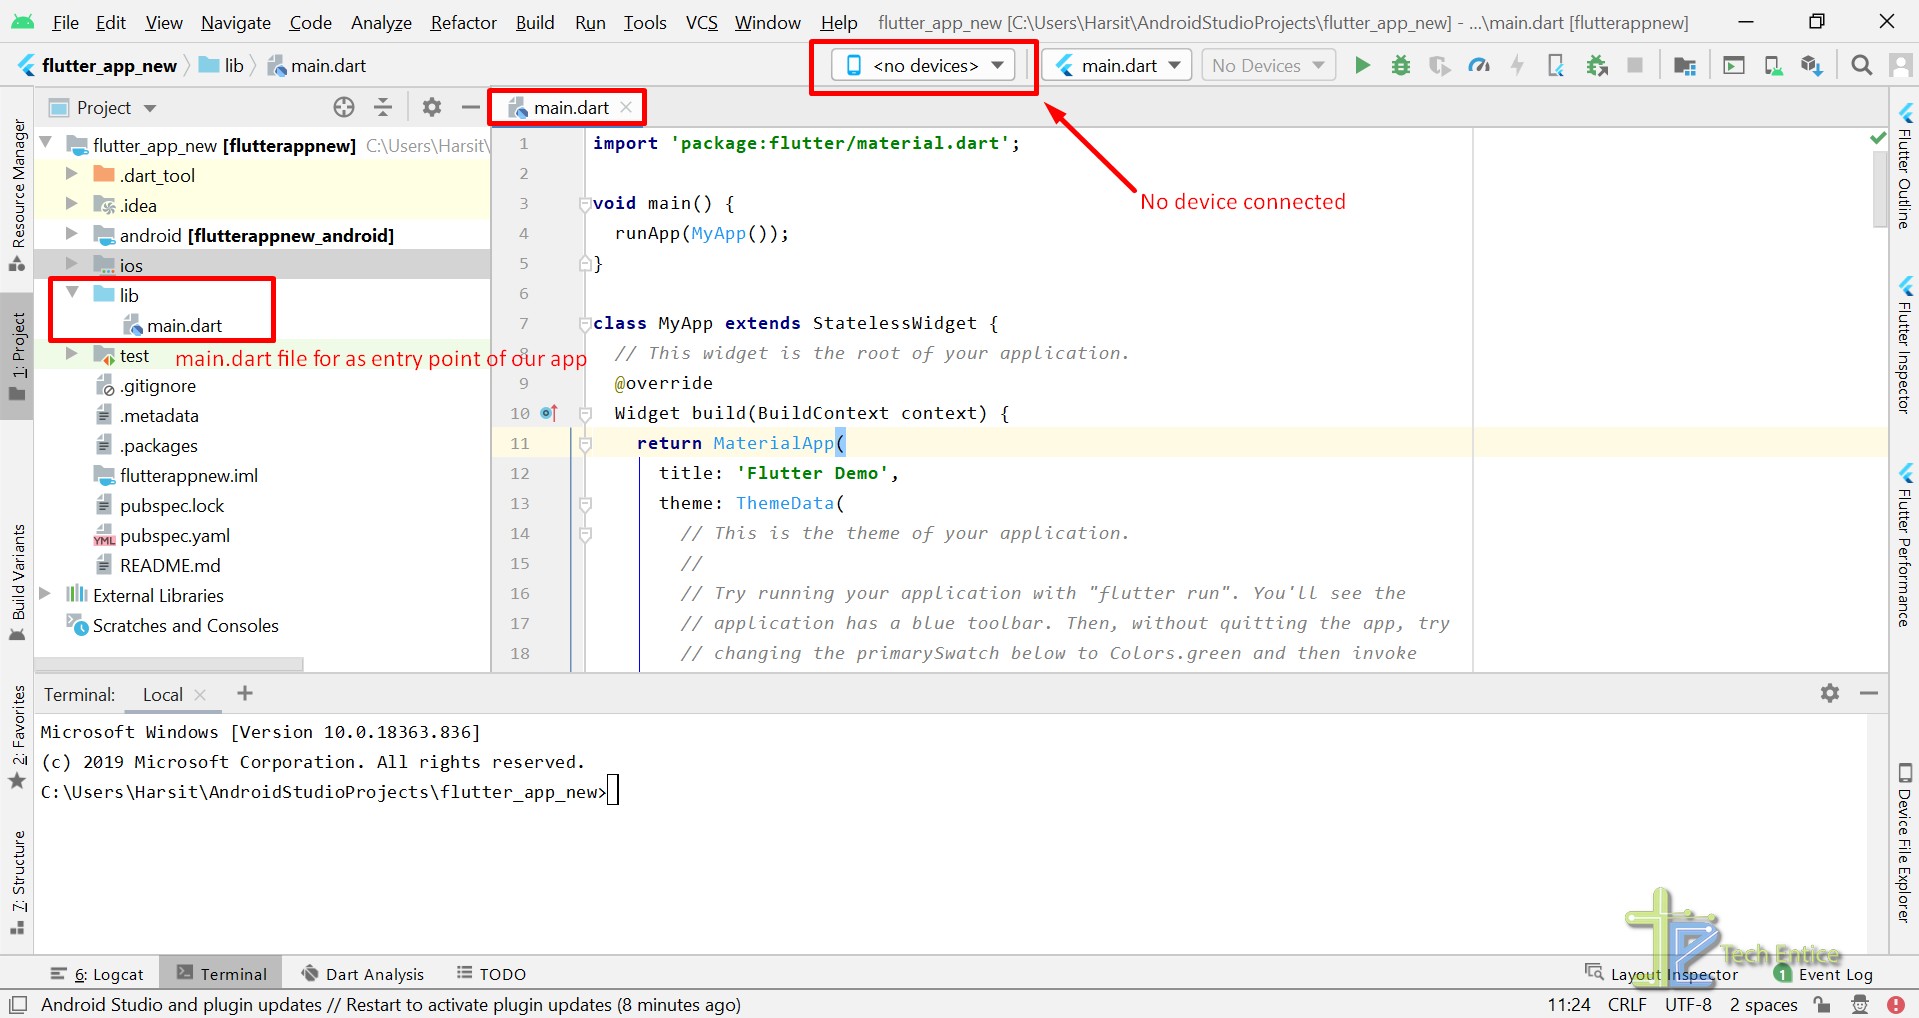
Step #6:
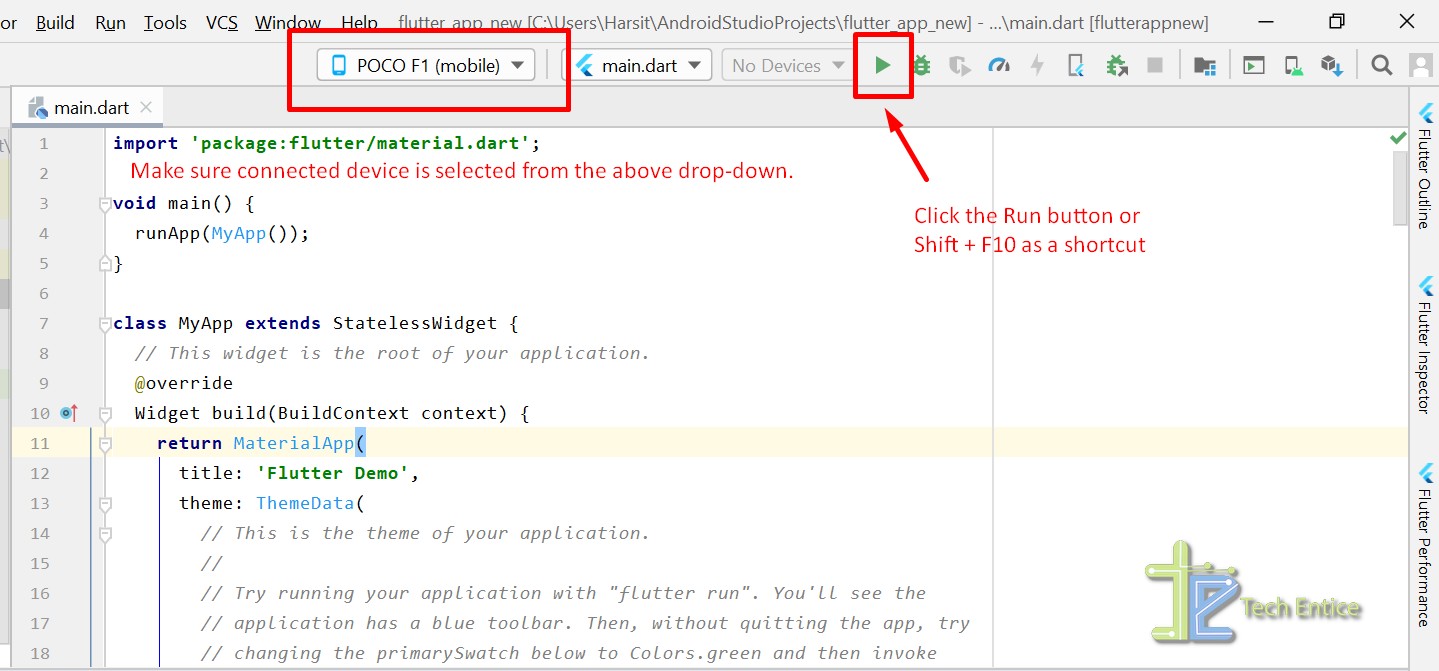
- In our case, we haven’t connected a physical device yet. Let’s connect an android device with USB debugging enabled.
- Once the Android studio detects the connected physical device, select the Run (Shift + F10 as a shortcut) button.
- Please ensure that you have enabled the “Install via USB” option from the Developer options section, as mentioned in the screenshot below.


Step #7:
- For the first installation gradle takes a while to assemble the debug apk file.
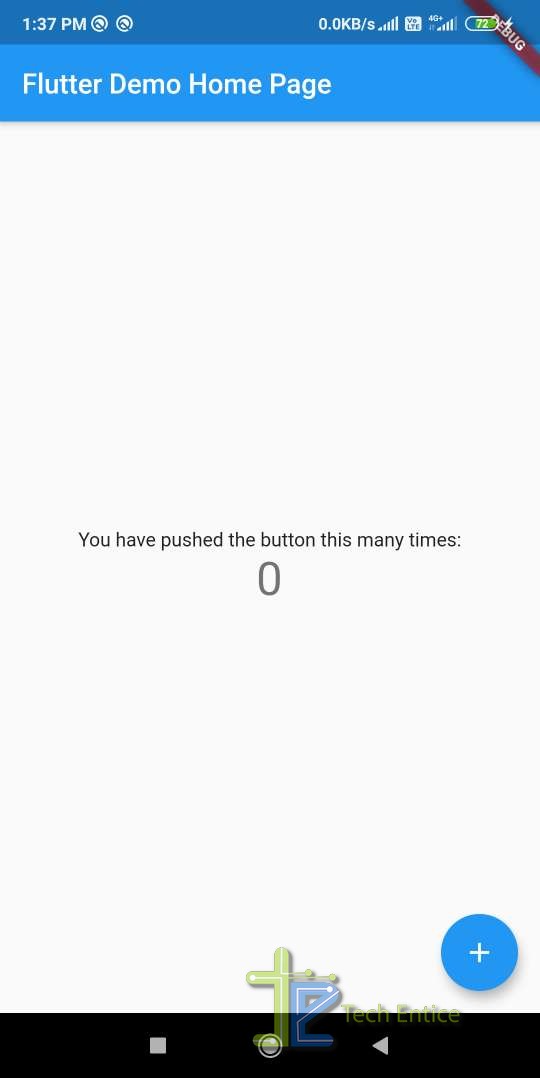
- Once the installation is over, you shall be able to the below details in the console section.


- You shall be able to see the launched flutter application in your connected android device, as mentioned below.

The Hot Reload feature:
The best part about flutter development is that you can make changes in the codebase, and Flutter reflects the changes immediately to the connected device with the hot reload feature.
Step #8:
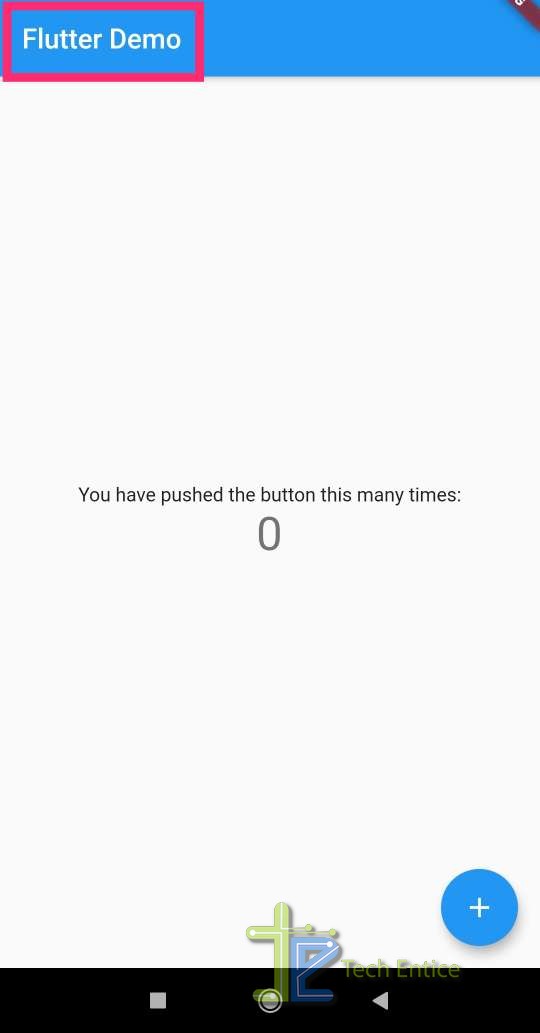
- Let’s change the header to “Flutter Demo” and save the dart file.
- You shall be able to see the status change in the console, and the changes are directly reflected on your connected device, as mentioned below.

Conclusion:
In this part of the Flutter series of articles, we have introduced the Dart language just as any object-oriented programming language. We ended up creating our first Flutter UI SKD powered android application and covered the powerful hot reload feature.

