During the course of your work, you might need to magnify or zoom in certain pictures. If you happen to use an iPhone or iPad, you can use a built-in tool of your device to serve the same.
Apple has a built-in tool called, Markup tool which has a magnifier feature. This tool is available to you at multiple locations on your iOS and iPadOS device like image edits, doc view, etc.
Steps To Magnify A Part Of A Photo On iOS Devices
Let us go through the steps to magnify something that is currently on your screen. For the same, you can use the feature for screenshot editing on your device.
Take a screenshot of the screen you wish to (or current screen). You can do this by pressing the side button and the volume down button together or side button and the home button together. The older versions support the latter.
Once, you have done the aforesaid procedure, you will see a screenshot preview on the bottom left corner of your device. Tap the Screenshot Preview.
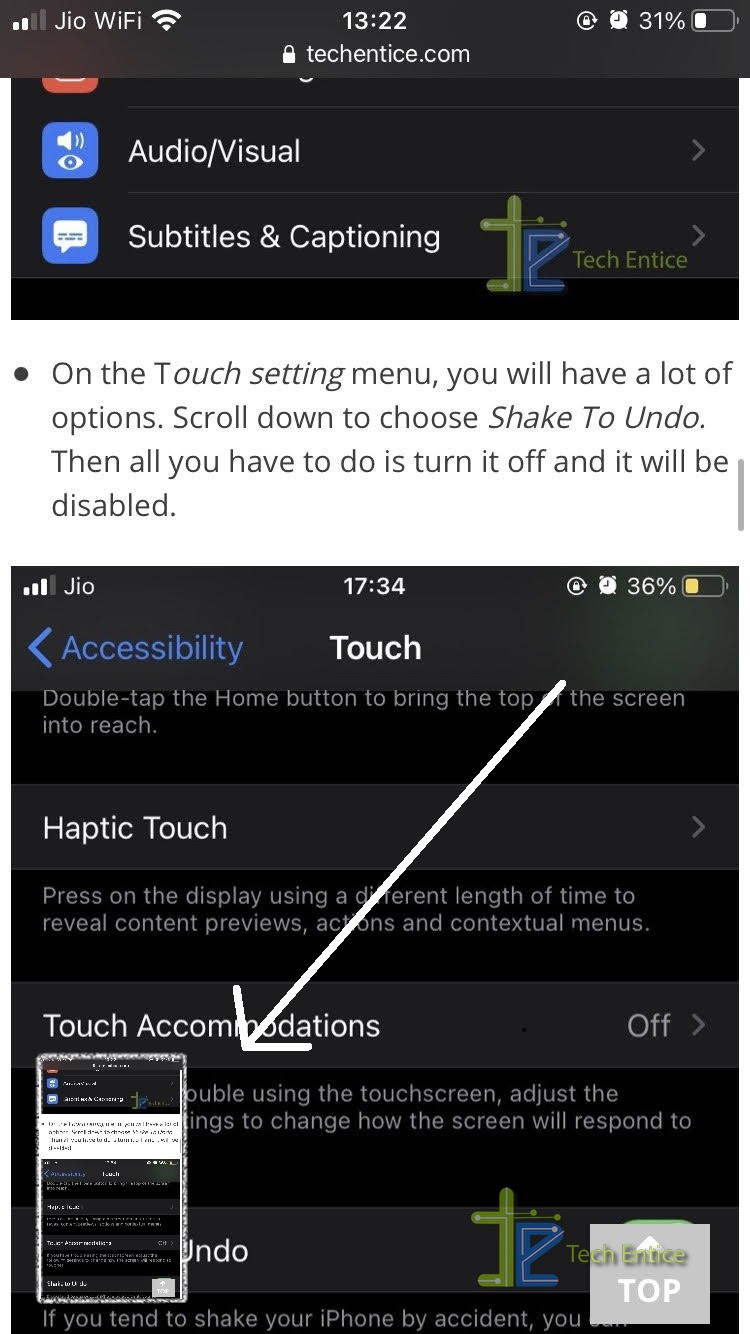
On the bottom right corner, you will find a plus (+) sign. Tap on the same to expand the menu.
In the menu, you will see the option for Magnifier. (magnifyphoto-3)Tap on the same, and you will find a magnifier that you can move around to magnify the part of your screenshot.
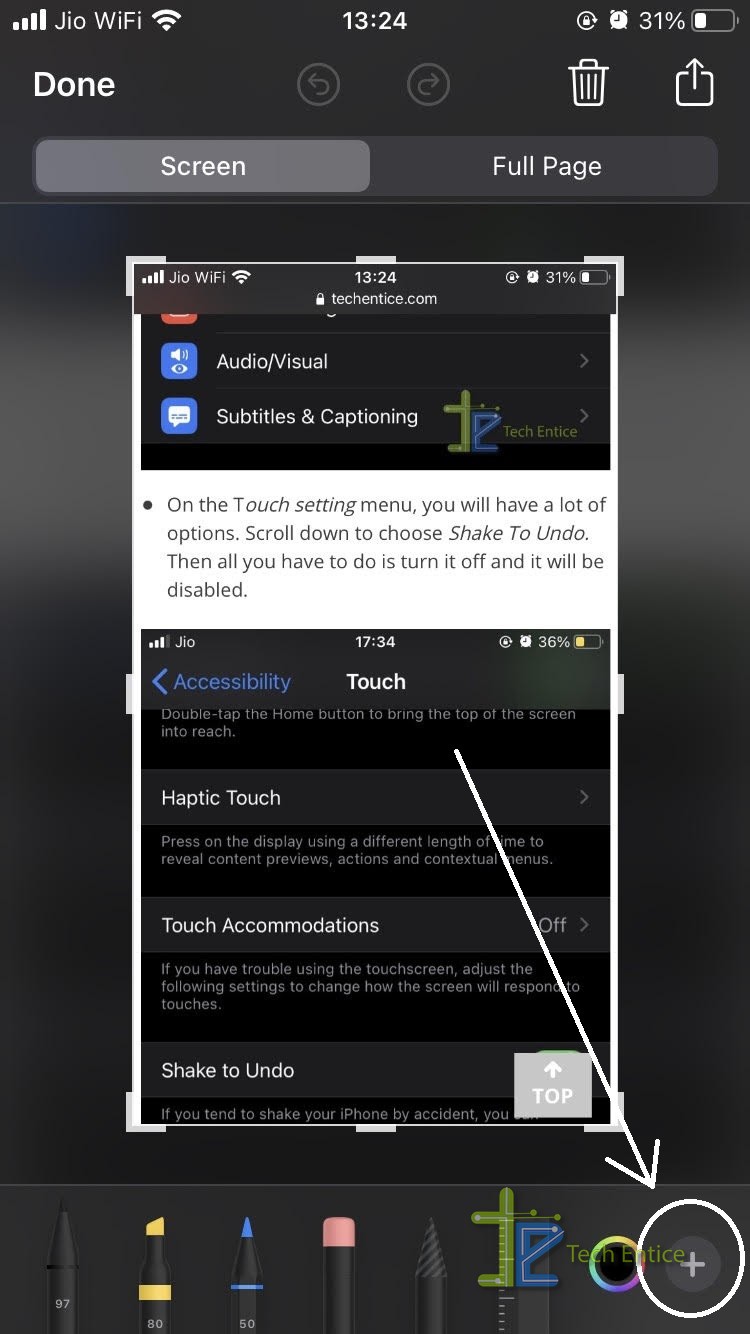
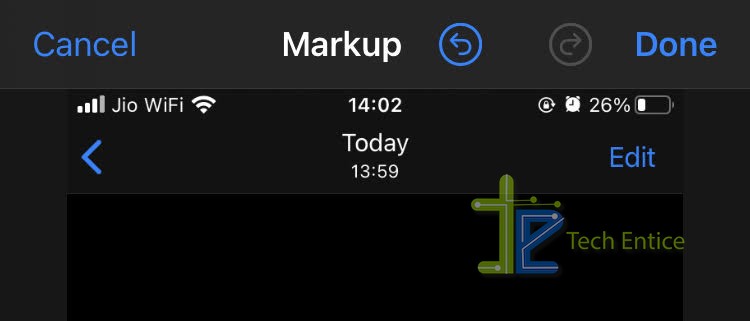
Once you are done, you can click Done on the top left corner and save the picture.
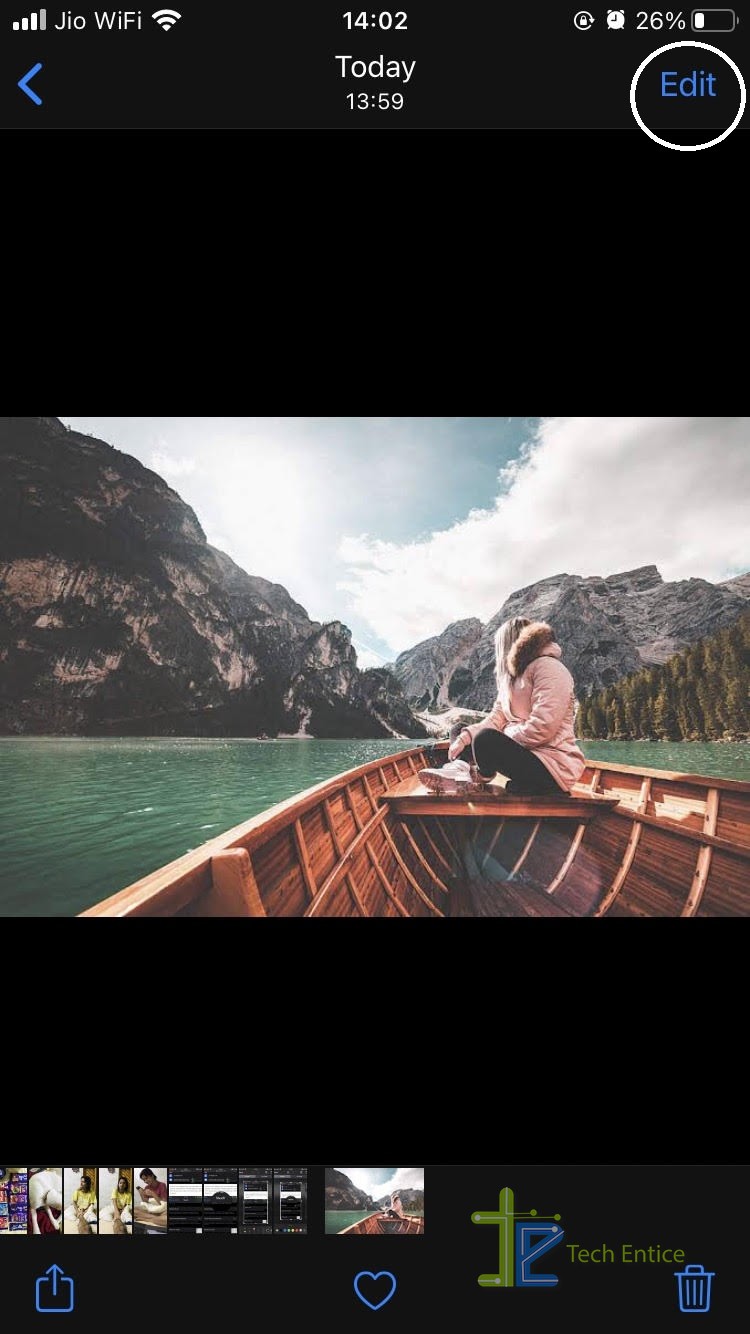
Suppose you wish to use the feature in the Photos app, you have to follow a slightly different procedure.
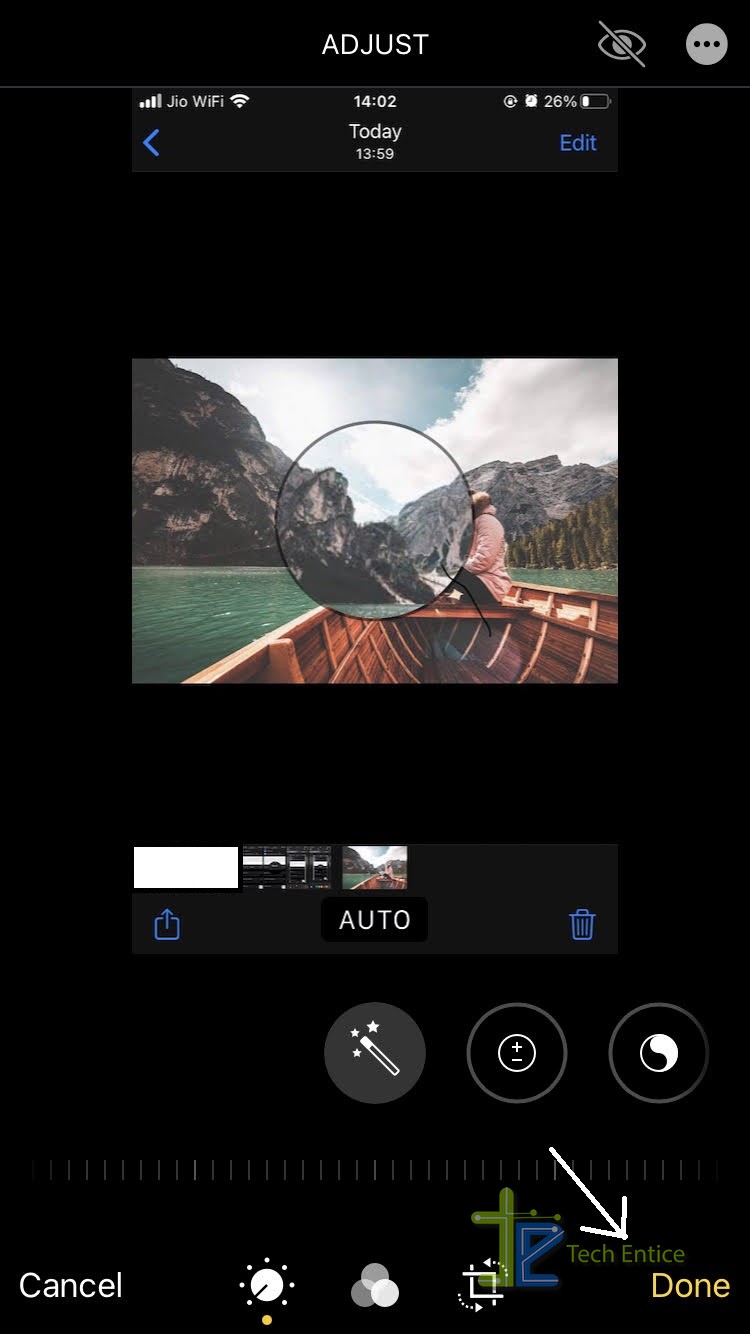
Select the photo you want to magnify, in your Photos app and click on the Edit option on the top right corner.
Select the Markup option from the share sheet. You will see a similar interface like the one you see while editing the screenshots.
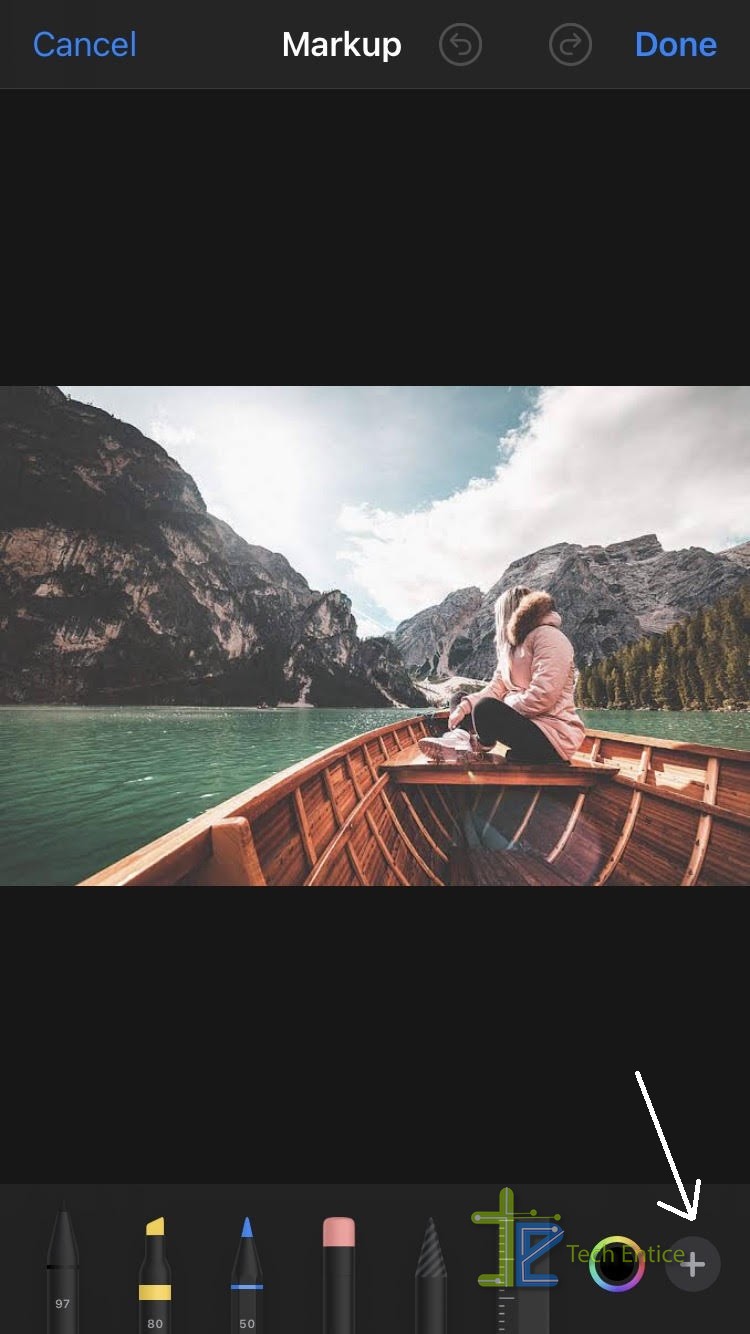
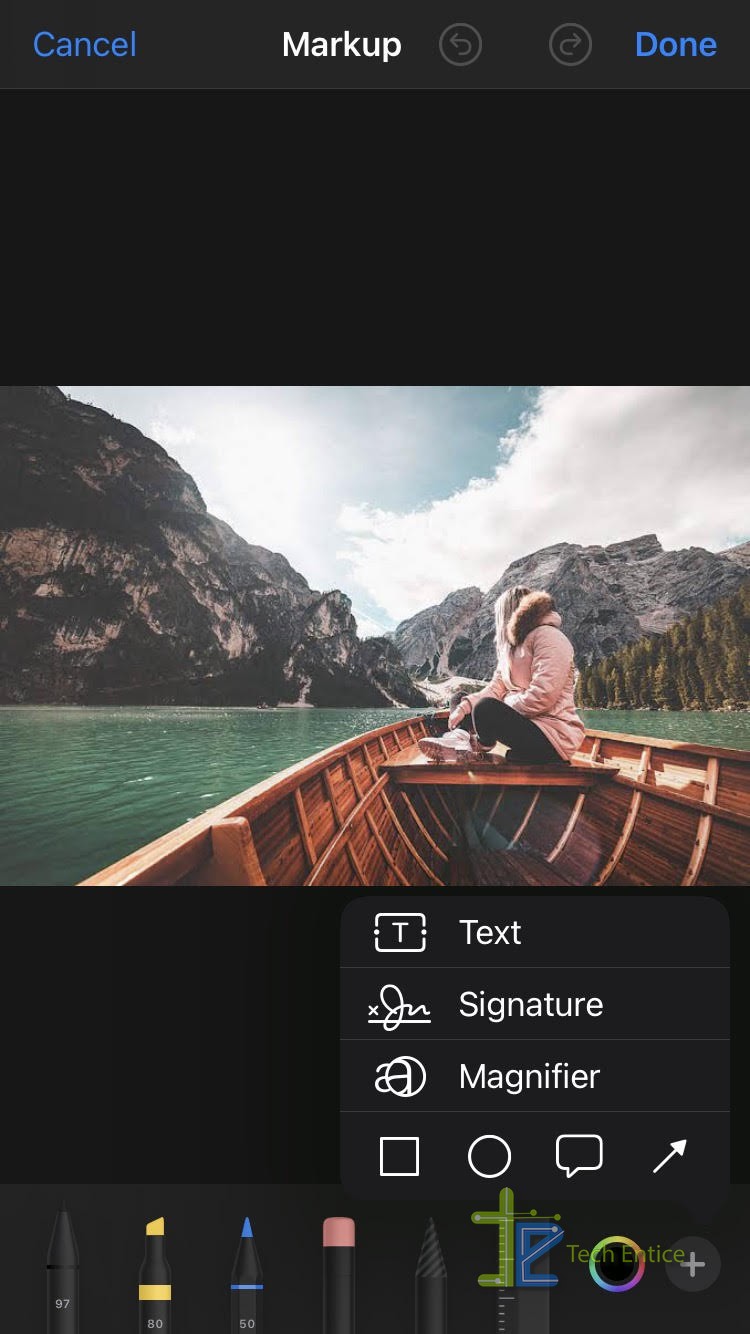
Click on the plus (+) sign on the bottom right corner and choose the Magnifier from the displayed menu.
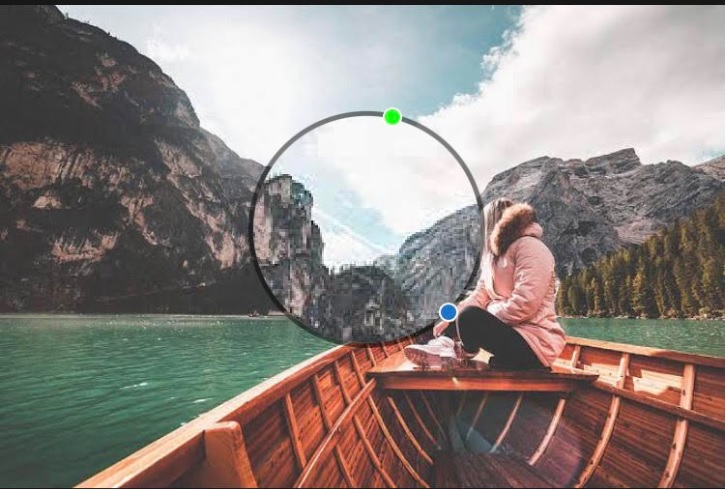
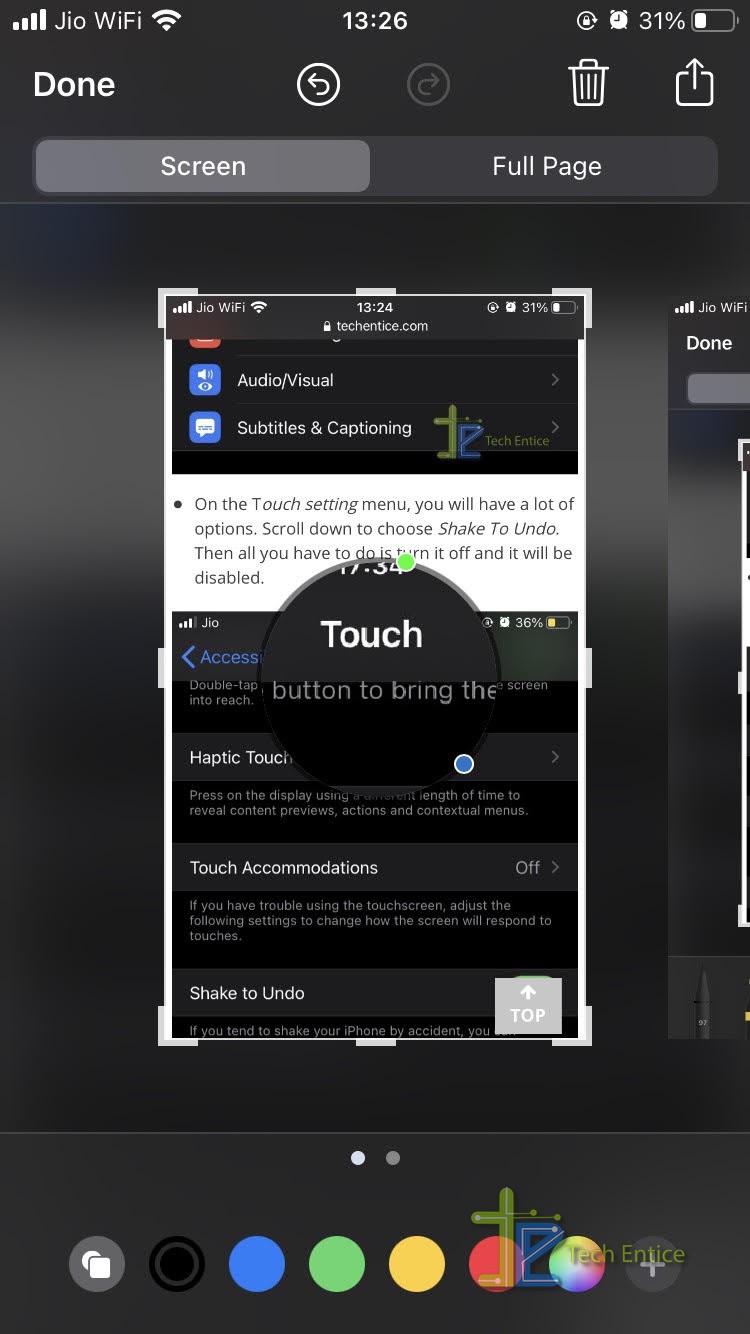
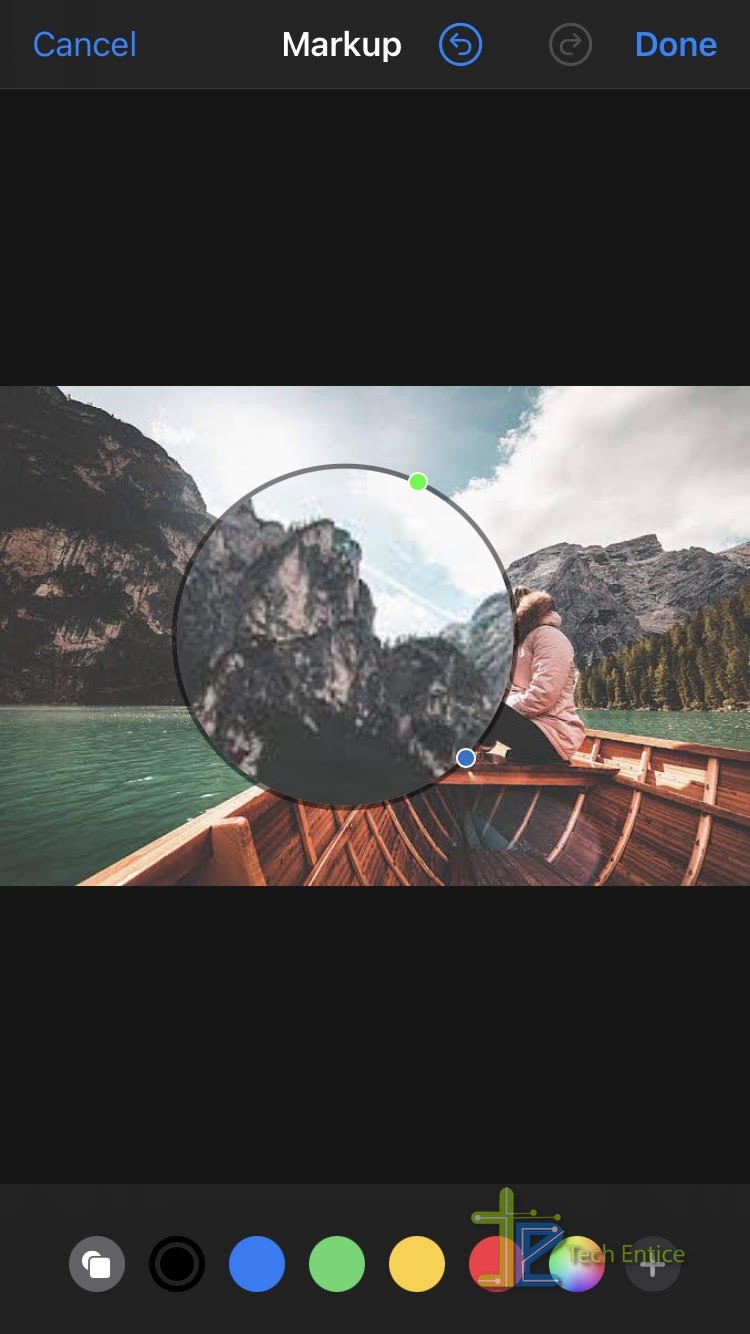
Again you will see a magnifier circle in the middle of the image. You can drag it around to choose the part of the image you sent to magnify.
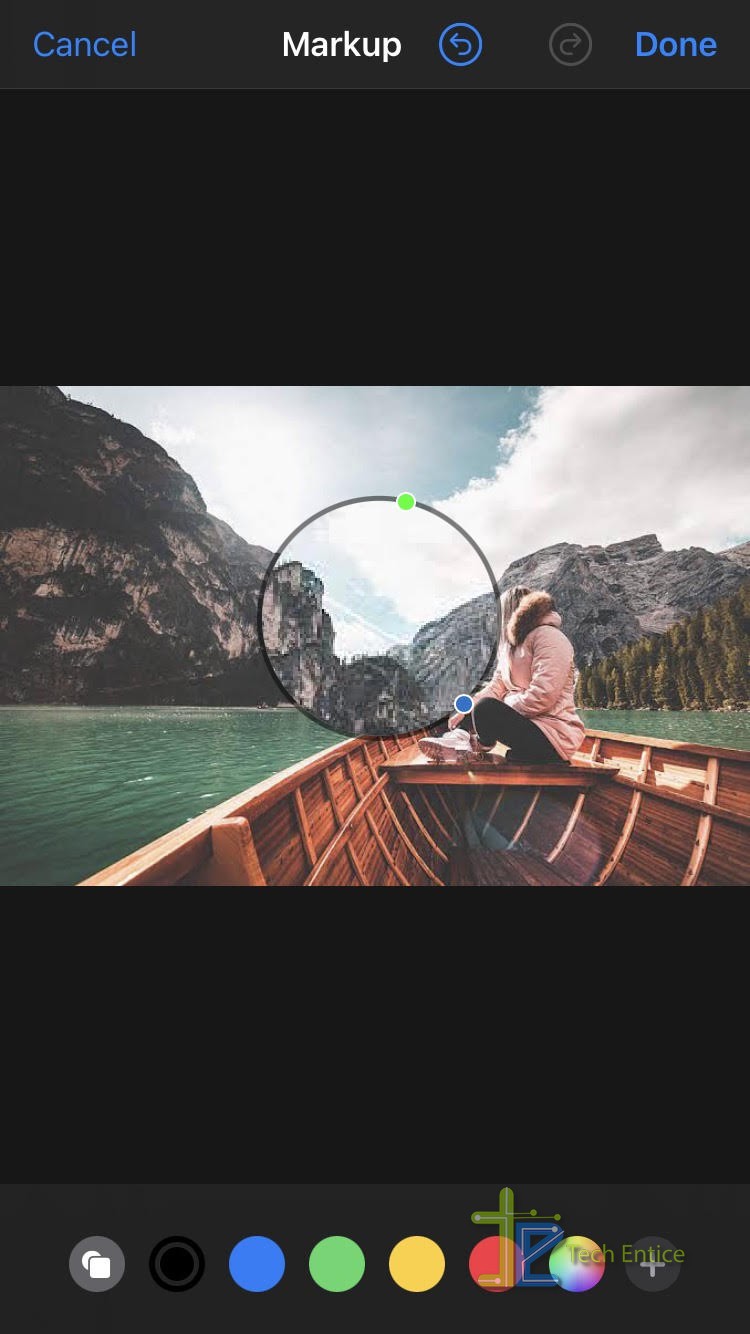
There are two dots, the blue one will allow you to change the size of the magnifier. Tap it to swipe in and out to change the size.
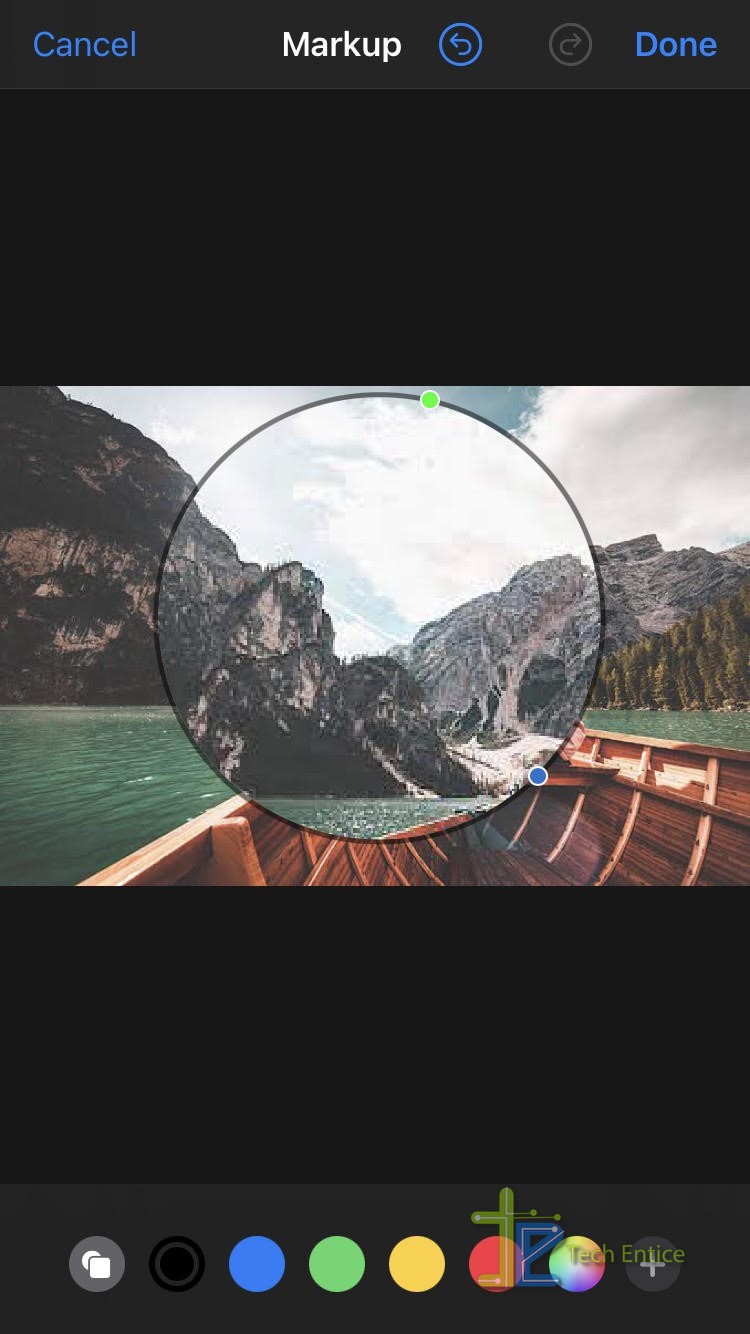
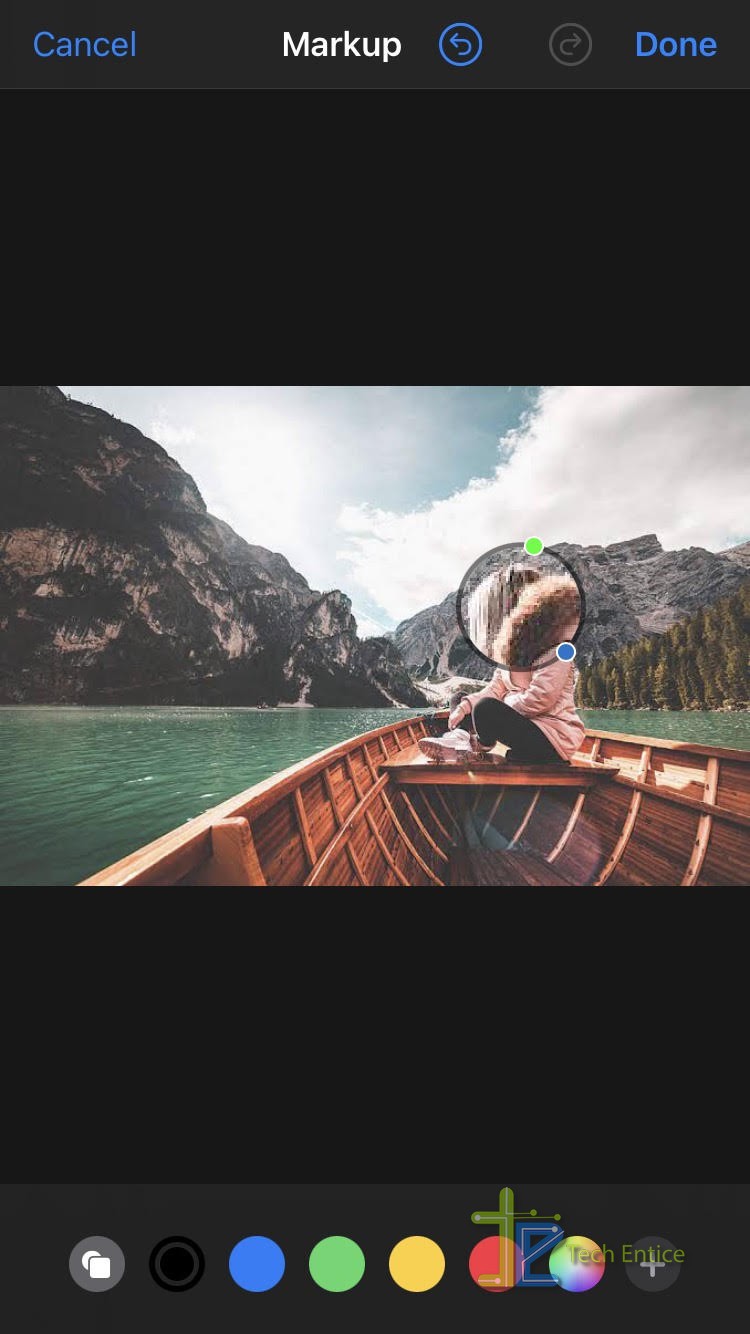
The green one allows you to change the magnification level. Swipe it to the left or right to change the magnification level, i.e., zoom in or zoom out. (magnifyphoto-13,14)

When you are satisfied with the required image, click Done on the top right corner. (magnifyphoto-15)
This will take you to the image editing screen. There, click the Done button on the bottom right corner of the screen to save the image in your gallery. (magnifyphoto-16)
These are the two ways you can edit the images. Following the steps will make your work easier. Go ahead, happy editing!