


The following tutorial will help you to create new users, guest account or group on Mac OS X. The process of creating user is similar to that of creating a group. There are primarily four types of accounts. These are administrator, standard, parental control, sharing only.
Administrator: The administrator account comes with administrator rights such as managing user accounts, installing applications, changing settings. Mac OS X can have multiple administrative users. The new user you create when you first set up your Mac is an administrator. You can also convert a standard user to admin user and give that account administrator access. It is always advised to keep your Mac secure and hence a user should not share administrative names and passwords.
Standard: Standard users are set up by an administrator user. Standard users have limited freedom. For example, it can install apps and change their own settings, but cannot add other users or change other users’ settings unlike an admin account.
Managed with Parental Controls: Managed with parental controls are those that can access only the apps and content specified by the administrator managing the user. The degree of freedom is constrained by the administrator. The admin can also restrict the time of computer use.
Sharing Only: Sharing-only users can access shared files remotely, but can’t log in to or change settings on the computer. To give the user permission to access your shared files or screen, you may need to change settings in the File Sharing, Screen Sharing, or Remote Management panes of Sharing preferences.
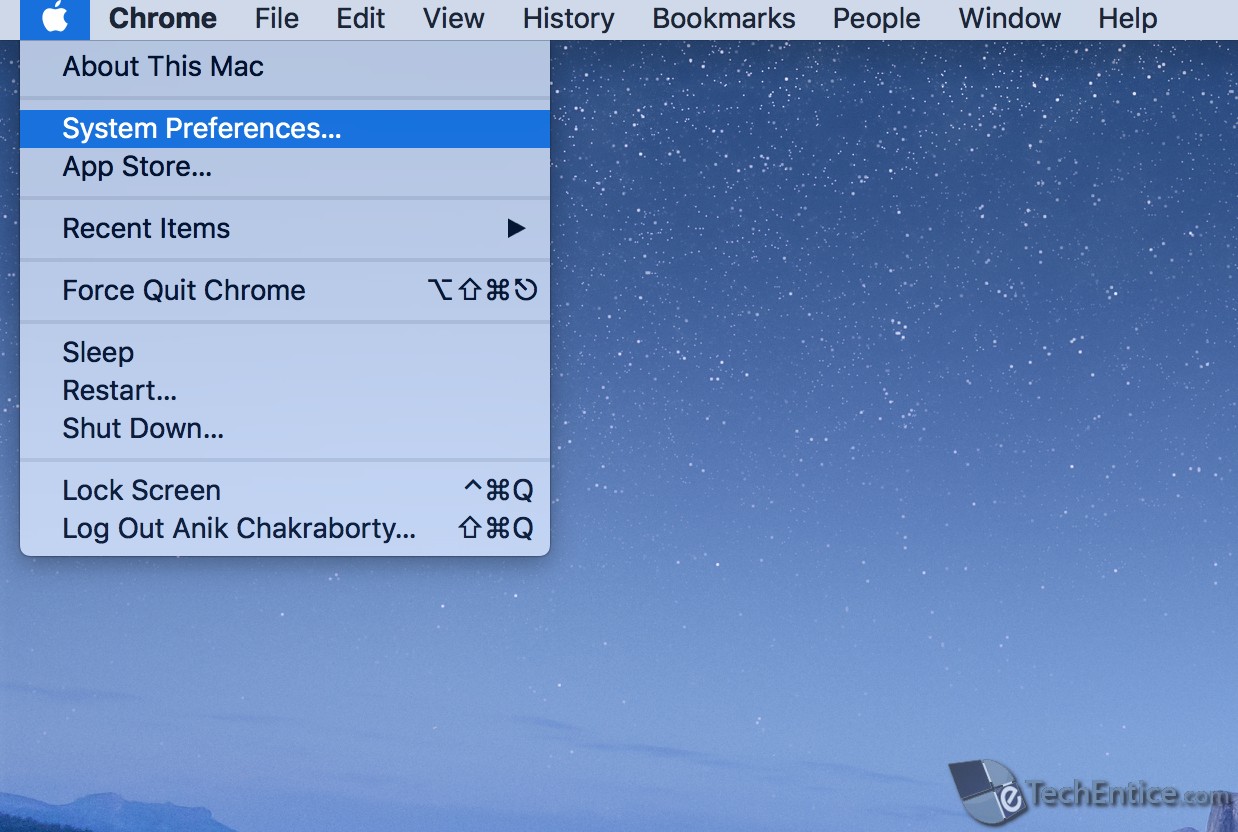
1. Click on the Apple icon located on the top left corner of the screen. Go to System Preferences.
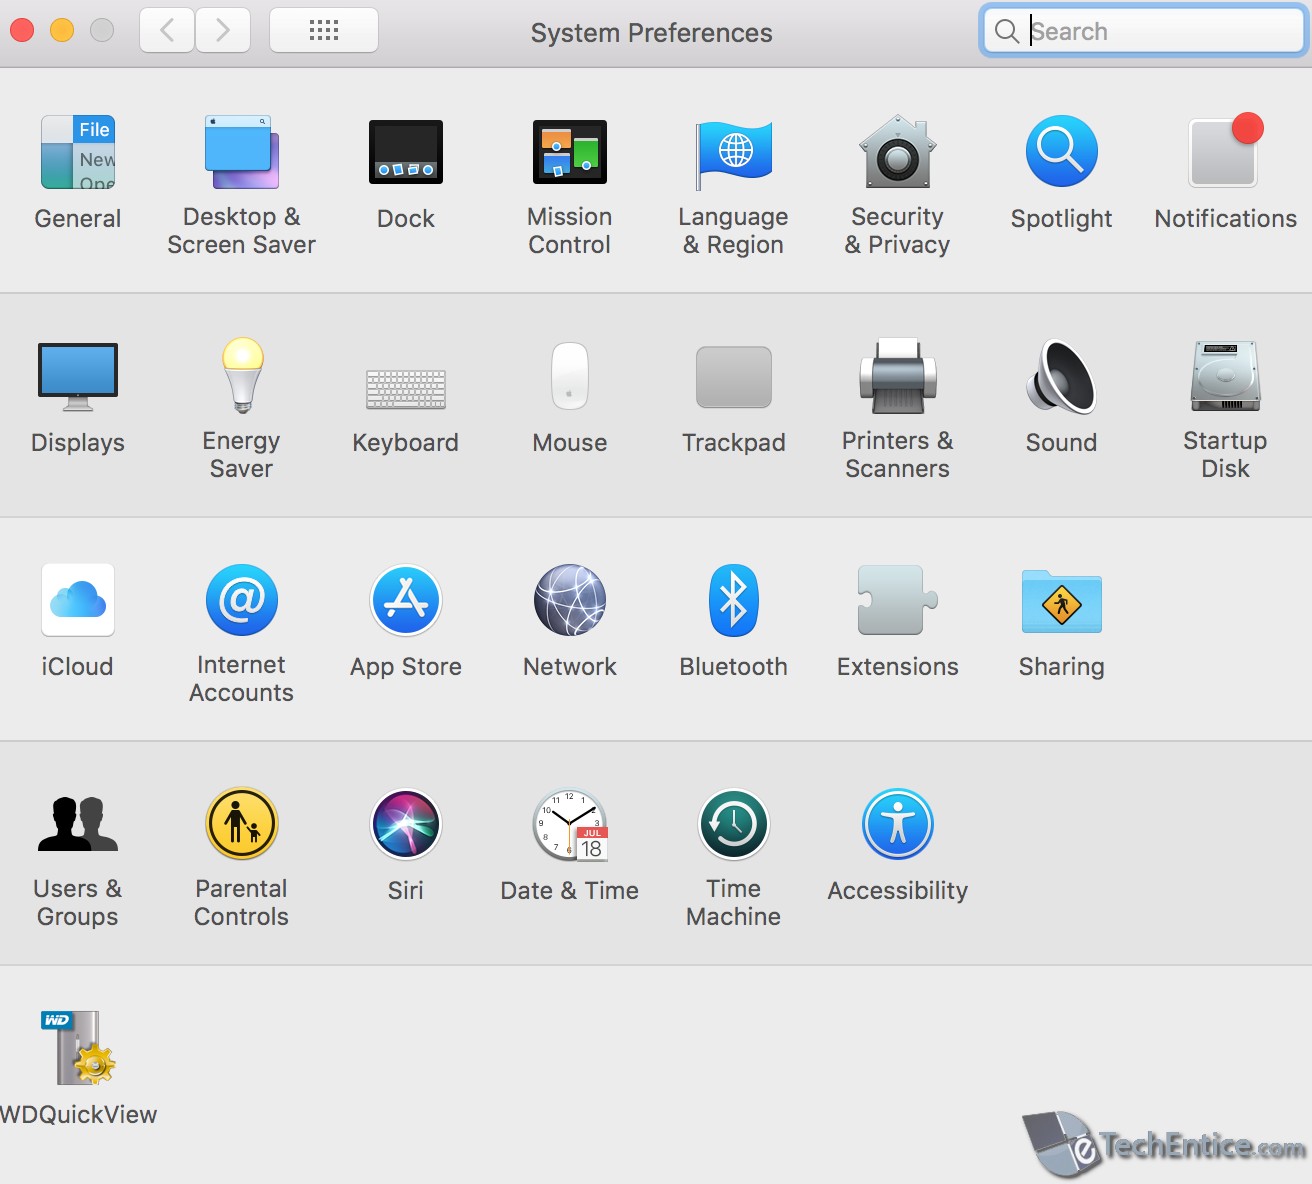
2. Click on Users and Group.

3. Next, click on the Lock icon to unlock and then enter an administrator name and password.


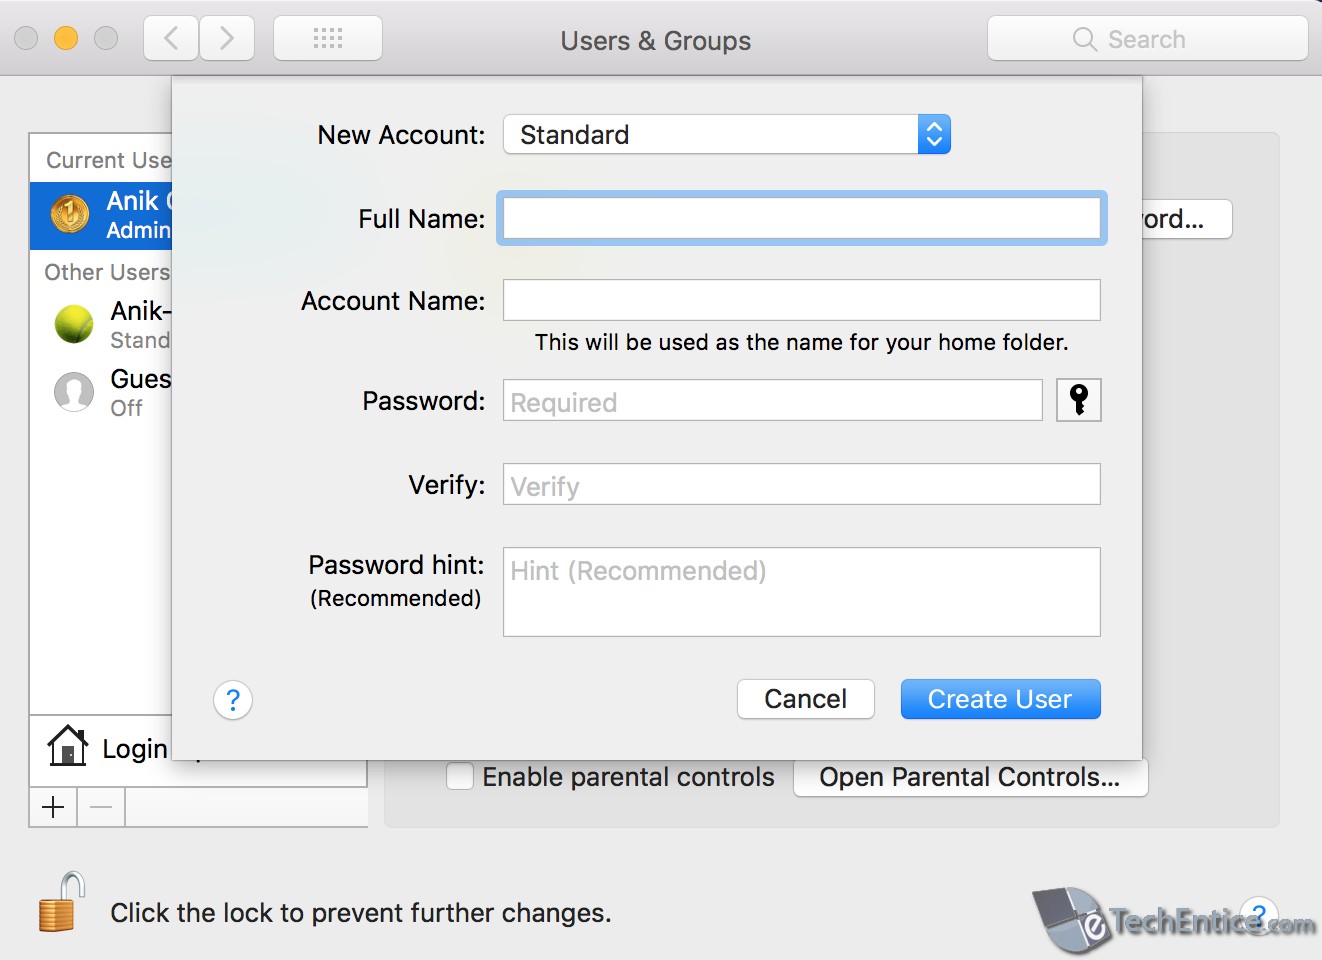
4. Click on the Add button (Plus icon) below the list of users. Now choose the type of account you want to create. Enter the name of the user, set a password, set a password hint. Click on Create User.

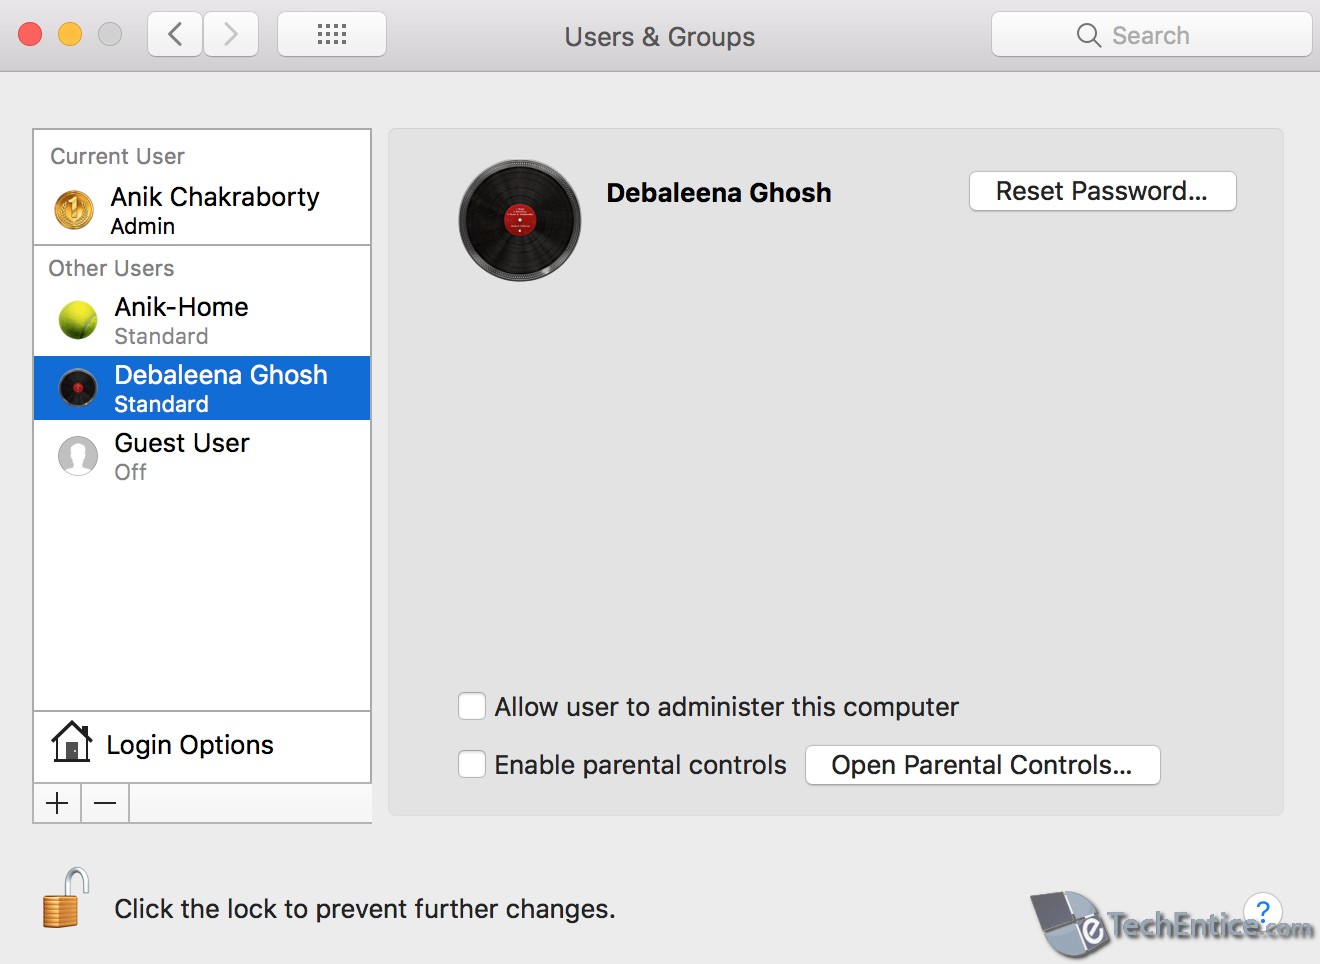
5. The user account is thus created.

That’s all!

