


As the amount of data and its access to our life is increasing, so is increasing the amount of useless and trash data. There is a trash bin in every operating system that stores data deleted by you. In Mac operating system, there is a a trash that stores all deleted information. The useless data is stored sometimes for indefinite period of time, so that you can restore them anytime in case you have deleted any item by mistake. However, such trash files can pile up and again cause data overload. In that case, you can enable an automatic setting that will clear up your trash periodically after 30 days.
There is an option called Empty Trash Automatically. If you enable this setting, your Mac OS X will clear all items in the trash after every 30 days. In the following tutorial, I shall show you how to enable that. This feature is quite common for users who have been using Mac for a long time. But for new users, many such settings are uncovered and these tips might be helpful for them.
Steps To Enable “Empty Trash Automatically” on Mac OS X
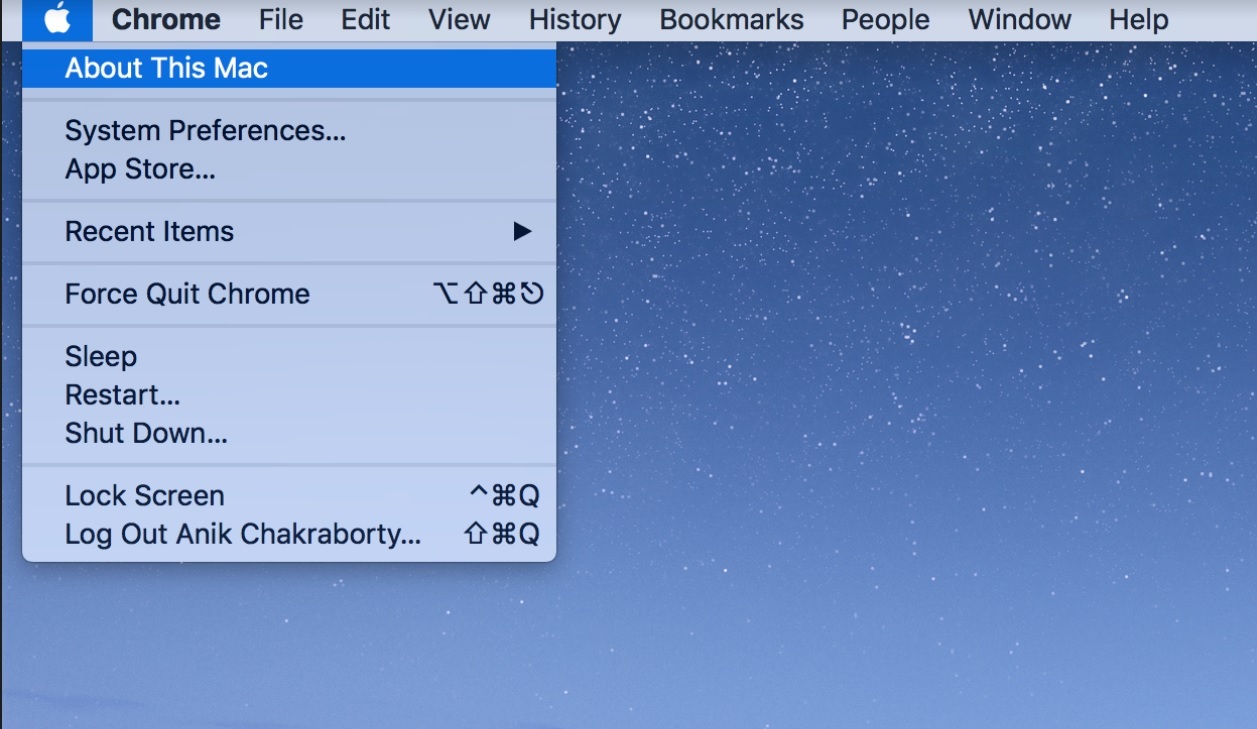
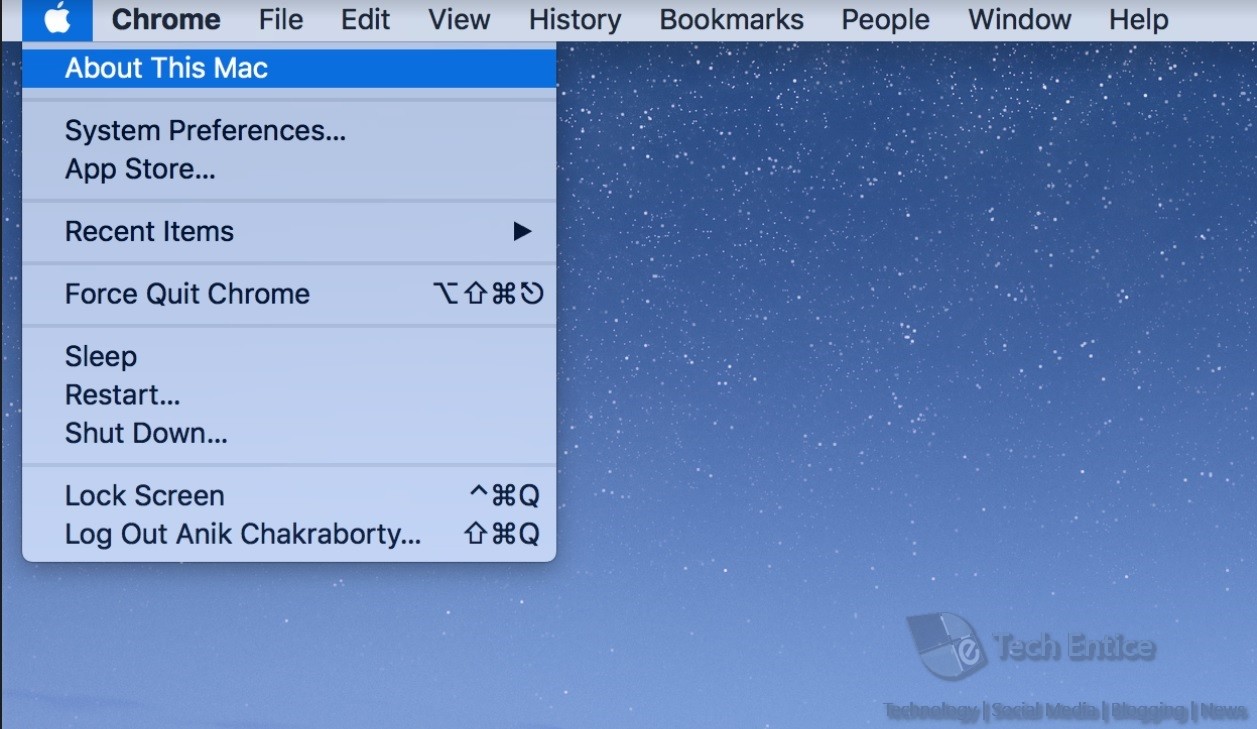
1. First of all, tap on Apple icon. Now click About this Mac.
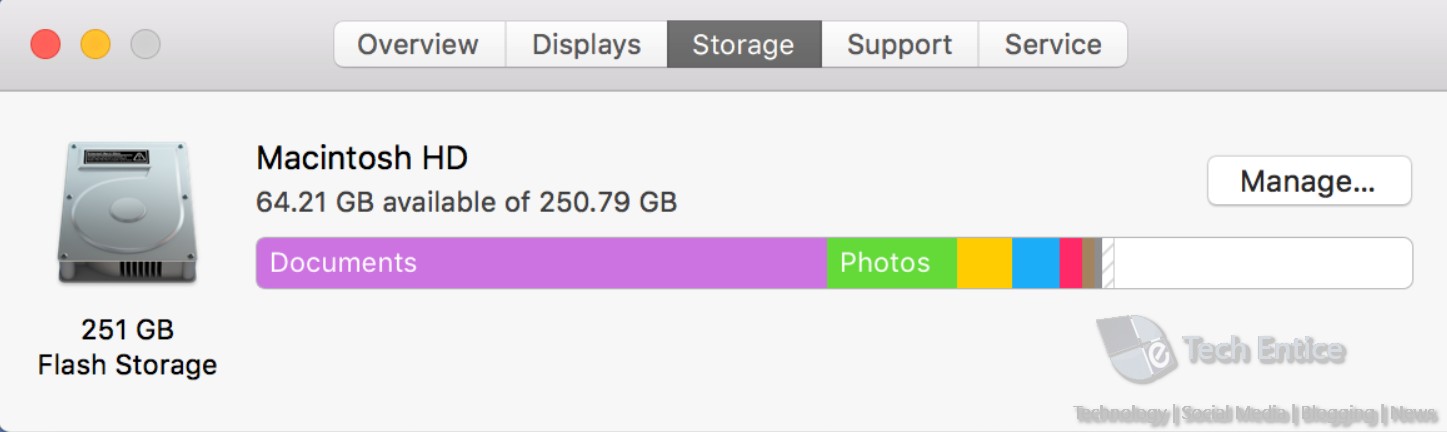
2. Now, the Macintosh HD opens. Click on the Storage tab. When the storage is being calculated, you can simply tap on Manage option.

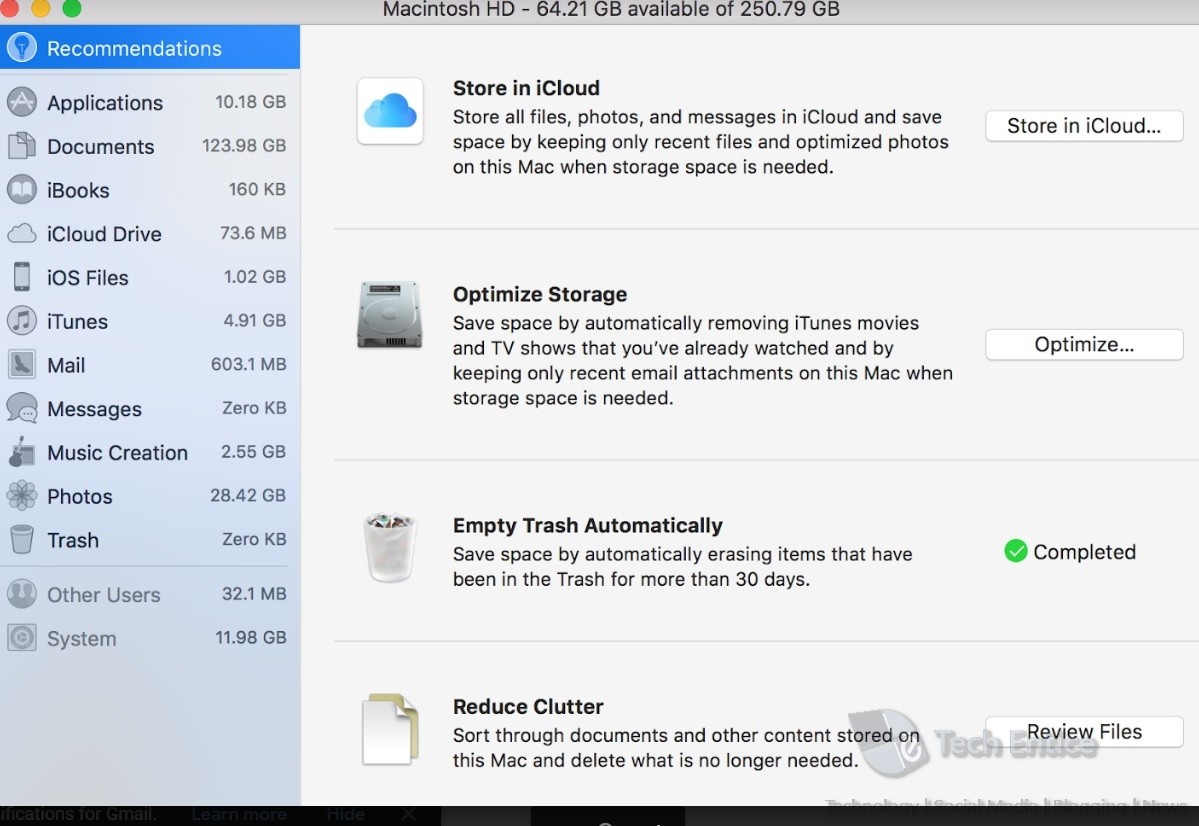
3. Now, scroll down and find out the option Empty Trash Automatically. Click on TURN ON. It will give you a warning that items in the trash will be deleted after 30 days. Click on TURN ON to confirm.


4. You will see completed beside the Empty Trash option. This means, it is successful.

That’s all!

