A lot of Windows users out there dislike Internet Explorer enough that just using a different browser is not enough, they want it gone. Although there’s not a direct path to remove it, here I will show you how to remove it completely.
Steps to uninstall Internet Explorer in Windows 7
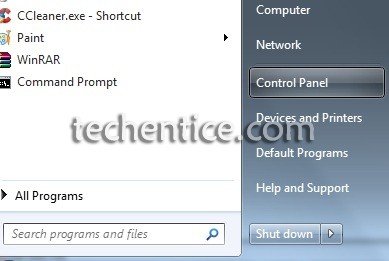
1. Go to start and click on Control Panel.
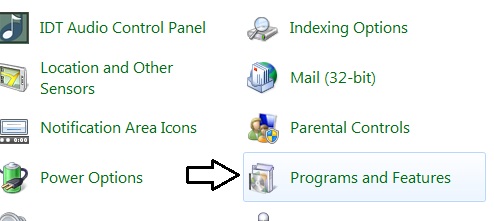
2. Find the option of Programs and Features and click on it.
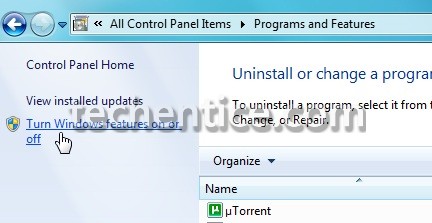
3. In the Programs and Features window click on the “Turn Windows features on or off” link on the left hand side.
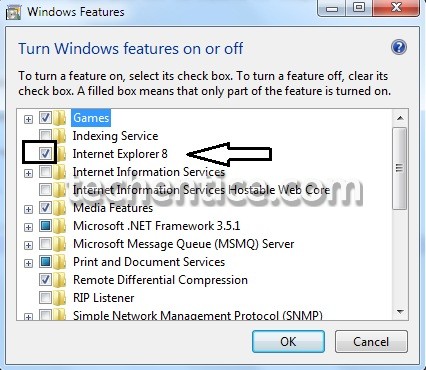
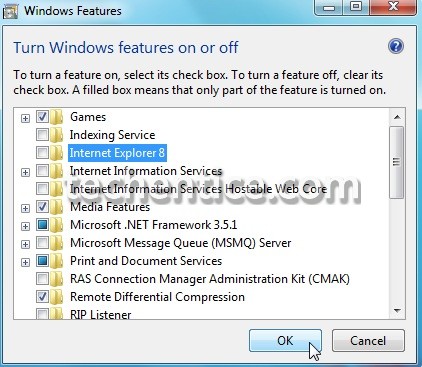
4. The Windows Features screen opens up and here you want to uncheck
the box next to Internet Explorer 8.
5. You will get a confirmation box when you uncheck it saying it may affect other Windows
features. It will if you don’t have another browser installed but otherwise everything that had opened in
Explorer will open in your default browser.

6. After verifying the process, click on OK.
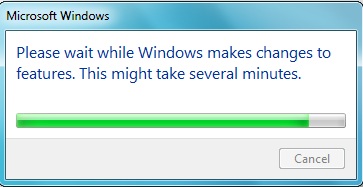
7. You will see a progress bar where in the internet explorer will be uninstalled.

8. After the uninstallation process is done, restart your system. You will see that internet explorer in not any more present in your system. You will see that it is not present in the default programs section too.